
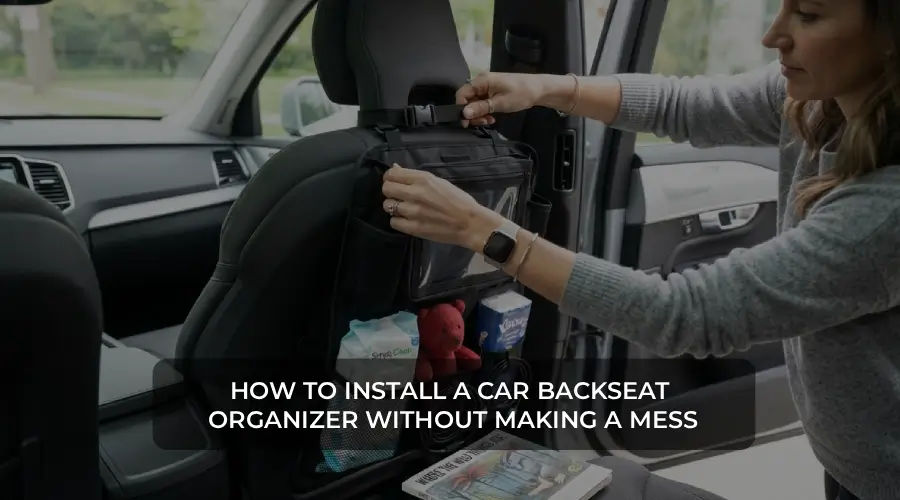
An organizer in the backseat of a car may simplify the daily commute, as tissues, toys, phone cords, and other necessities will be stored in a single location. Nevertheless, improper installation may result in loose straps, falling pockets, and unnecessary clutter. However, the positive side of this is that the majority of backseat organisers will be easy to install as long as you follow the correct procedure. This guide will show how to fit a car backseat organiser without creating a mess, how it can be held down, and what needs to be checked before using it. What You Need Before Installing a Backseat Organiser? Before you begin, review the instructions of the organiser and find out how it attaches to your car. The majority of seat-back organisers consist of adjustable straps over the headrest and lower part of the seat, but other types are attached in other ways. This process can be beneficial for installing a backseat organiser. For instance, to install a backseat organiser, first secure the upper and lower straps around the seat, tighten them to ensure a firm fit, and then attach your belongings. Also, keep a soft cloth nearby to remove dust from the seat. If the organiser has removable inserts, clips or buckles, check that all parts are present before installation. Step-by-Step Guide to Installing a Car Backseat Organiser Step 1: Clean the Back of the Seat Start by removing loose items from the seat pockets and wiping the seat surface. Dust, crumbs and small objects can become trapped behind the organiser, making cleaning more difficult later. Allow the surface to dry before fitting the organiser, particularly if you have used a damp cloth. Step 2: Position the Organiser Correctly Hold the organiser against the back of the front seat and check its alignment. The top should sit near the headrest, while the lower section should rest flat against the seat. Make sure it does not hang too low or reduce rear passengers’ legroom unnecessarily. Check that the organiser does not interfere with seat adjustments, airbags or other safety features. Step 3: Attach the Upper Strap Wrap the top strap around the headrest or through the attachment points specified by the manufacturer. Fasten the buckle securely and adjust the strap until the organiser sits close to the seat. Avoid pulling the strap excessively tight, as this may place unnecessary pressure on the material or attachment points. Step 4: Secure the Lower Strap Locate the lower strap and follow the manufacturer’s instructions for routing it around the seat base. Fasten the buckle and tighten the strap until the organiser remains flat without excessive movement. Keep straps away from seat rails, electrical wiring, adjustment mechanisms and other moving components. If the design does not fit your seat properly, do not force the attachment. Step 5: Check Stability Before Filling the Pockets Gently check the organiser for movement. It should not sag excessively, slide from side to side or hang away from the seat. If it moves, adjust the straps and check that the buckles are fully fastened. A quick inspection now can prevent the organiser from becoming messy during your next journey. Step 6: Arrange Your Belongings Once the organiser is secure, place lightweight everyday essentials into the appropriate pockets. Tissues, charging cables, wipes, books and small travel accessories are suitable options for many designs. Avoid overfilling compartments or placing heavy, hard objects in pockets where they could strike passengers during sudden braking. Keep frequently used items accessible without creating distractions for the driver. Tips to Keep Your Car Clean During Installation Installing the organiser is only part of the process. A few simple habits can prevent the cabin from becoming cluttered again. First, empty the pockets before installation and sort belongings into categories. Keep travel accessories together rather than placing everything in whichever pocket is available. Second, avoid storing rubbish in the organiser. Use a dedicated car waste container and empty it regularly. You must also read five simple ways to minimise clutter inside your car to maintain a tidy cabin. Finally, remove unnecessary items every week. An organiser works best when it holds things you actually use. FAQs 1. What are some effective ways to organise my car? Start by removing unnecessary items and assigning essentials a dedicated storage space. Use a backseat organiser for lightweight passenger belongings and a boot organiser for groceries, tools and emergency supplies. Keep rubbish in a suitable waste container and clean the cabin regularly. Securing loose items and maintaining a simple weekly tidy-up routine can help prevent clutter from returning. 2. What is the best way to store a car for long-term storage? For long-term storage, clean the vehicle inside and out, remove rubbish and take out belongings that could attract pests or develop odours. Park in a secure, dry location where possible, and follow the vehicle manufacturer’s guidance on battery care, tyre pressure and fuel. 3. Is it safer to use a car seat base? If you mean a base for an infant car seat, a compatible base can make installation and removal more convenient, but safety depends on correct fitment. Some infant seats can also be installed safely without a separate base when the manufacturer permits it. 4. Are car seat covers actually safe? Car seat covers can be suitable when they are compatible with the vehicle and do not interfere with airbags or seat-belt systems. Covers that are not designed for seats with side airbags may obstruct deployment. If you use a child car seat, avoid adding unapproved covers or padding beneath it, as these may affect how securely it fits. Check the vehicle and restraint manufacturers’ instructions before installation. Start by removing unnecessary items and assigning essentials a dedicated storage space. Use a backseat organiser for lightweight passenger belongings and a boot organiser for groceries, tools and emergency supplies. Keep rubbish in a suitable waste container and clean the cabin regularly. Securing loose items and maintaining a simple weekly tidy-up routine can help