
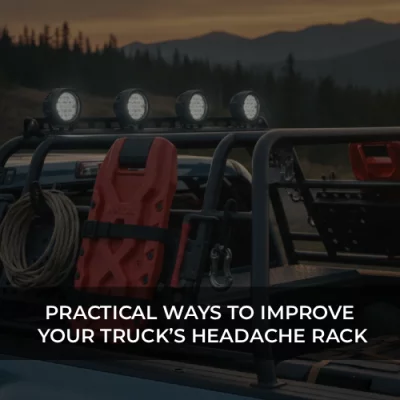


One of the upgrades that will be among the most practical modifications that you can make on a pickup truck is a headache rack. Installing an appropriate headache rack can enhance safety and functionality regardless of the fact that you use your truck for work, equipment hauling, towing, or outdoor adventure.
Most truck owners are more interested in selecting the appropriate rack but fail to allocate sufficient time to learning how to install the rack. An imperfectly fitted headache rack may cause vibrations and loose fitting, weakened protection to cargo, and even damage to the truck bed in the long-term.
What is good is that the largest proportion of the modern headache racks can be installed easily with the proper mounting hardware.
What Is a Headache Rack?
A headache rack is an item of protection that is attached to the rear of the pickup cab.
Its primary aim is to:
- Protect the rear window
- Hold cargo in place.
- Improve load security
- Provide accessory mounting options
Most headache racks are also used as mounting racks to:
- Work lights
- Tool holders
- Recovery equipment
- Cargo straps
- Ladder supports
This protection and utility attributes make them favored by the commercial and hobby truck owners.
Why Install a Headache Rack?
It is always good to know why there are so many truck owners who opt to install one before talking about the process of installation.
Protection for the Cab
The support weight can lead to accidental forward shifting of the cargo during sudden braking of the vehicle.
A headache rack assists in creating an obstacle between:
- Cargo
- Truck cab
- Rear window
This would help avoid expensive malfunctions and enhance safety.
Better Cargo Management
Headache racks have lots of tie-down spots and side mounted accessory spots that can assist in maintaining organization of equipment.
Improved Functionality
Contemporary headache racks will support:
- LED work lights
- Tool mounts
- Recovery boards
- Utility storage systems
The result is a more versatile truck setup.
Choosing the Right Headache Rack
Not all headache racks are alike. Before installation, consider:
Material
The most popular ones are:
- Steel
- Aluminum
- Stainless steel
Steel has ultimate strength whereas, aluminum carries less weight with an enhanced corrosion resistance.
Compatibility
Always ensure that the rack is intended to:
- Your truck model
- Bed size
- Mounting system
The most typical are vehicle specific designs, which offer the least complications during installation and are the most suitable fit.
Intended Use
The selection of the kind of truck to use should be in line with your usage.
For example:
- Contractors can put more emphasis on strength.
- Accessory mounting features might be desired by overlanders.
- Lightweight designs can be desired by daily drivers.
Tools You May Need
The majority of headache racks constructions necessitate simple tools.
Common items include:
- Socket set
- Wrench set
- Measuring tape
- Drill (when installed)
- Torque wrench
- Screwdrivers
Never start without first reading the manufacturer’s instructions.
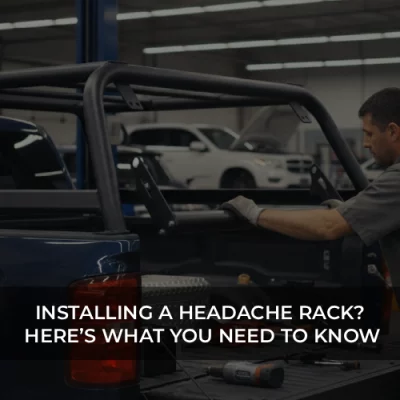
Step-by-Step Headache Rack Installation

The set up differs depending on the manufacturer, but most of the setups have a similar process.
Step 1: Prepare the Truck Bed
Clean the mounting area.
Remove:
- Dirt
- Dust
- Rust buildup
- Debris
A clean surface is important to provide adequate alignment and fixation.
It is also a good place to check on the truck bed rails on whether they are damaged or not.
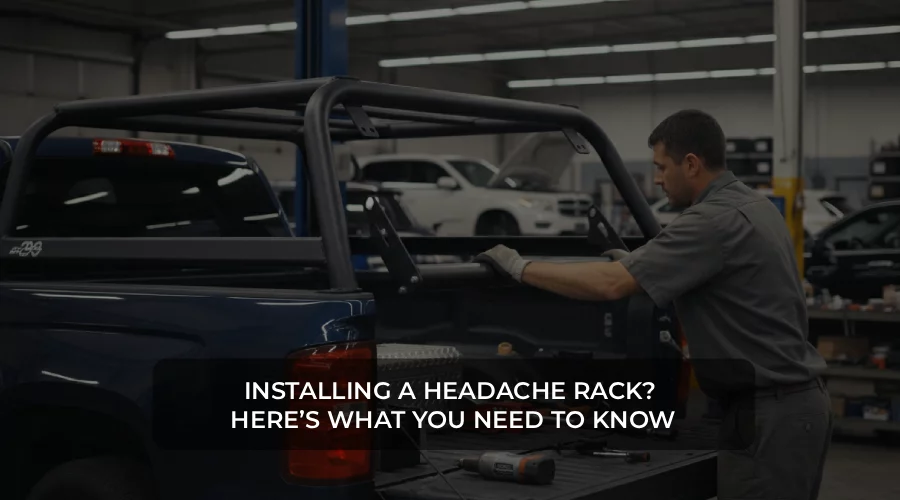
Step 2: Position the Rack
Carefully place the headache rack behind the cab.
At this stage:
- Align the rack appropriately.
- Check sides spacing.
- Check rear-window clearance
It should be properly positioned since even minor problems in alignment can be realized in future.
Step 3: Install Mounting Brackets
The majority of the headache racks utilize either:
- Clamp-on brackets
- Bolt-on brackets
The mounting hardware should be attached loosely initially.
Do not completely tighten things until you have made final confirmation.
This gives a chance of making minor alterations when installing it.
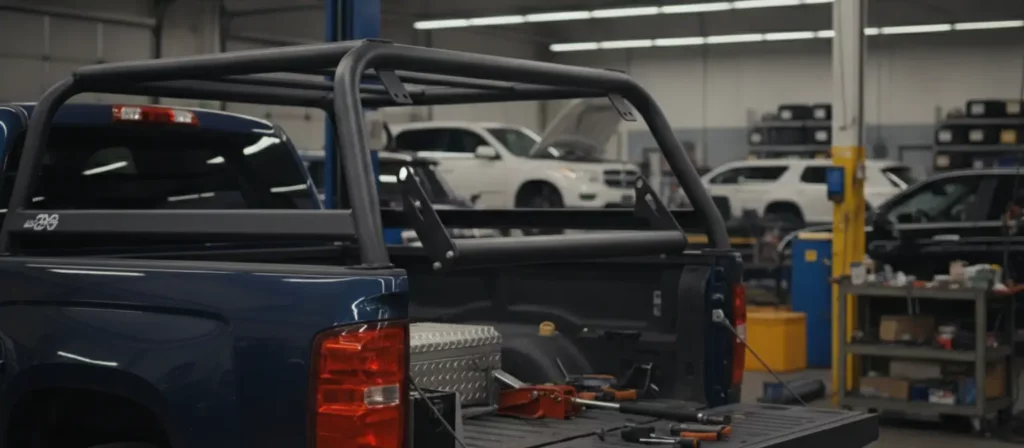
Step 4: Check Alignment
Before tightening the hardware, inspect:
- Side-to-side alignment
- Lateness of the cab.
- Rack levelness
- See the truck in various views.
The correct position of the headache rack must be square and at the center of the truck bed.
Step 5: Tighten All Hardware
Once you’re satisfied with the positioning:
- Uniformly tighten mounting bolts.
- Adhere to torque specifications, where applicable.
- Double-check bracket security
You must not overtighten since overtightening may cause harm to hardware and bed rails.
Step 6: Install Accessories
A lot of truck owners are adding accessories as soon as they are installed.
Popular upgrades include:
- LED work lights.
- Cargo hooks
- Tool holders
- Recovery gear mounts
The inclusion of such features now simplifies the wiring and setup.
FAQs
1. What do you use a headache rack for?
Protecting the truck cab and back window is carried out by means of a headache rack that can be attached, offering various positions to affix all tools, lights, and other accessories.
2. How to attach a headache rack?
The majority of the headache racks fit clamp-on or bolt-on systems, which fasten the rack to truck bed rails. The ways of installation differ according to the manufacturer and type of truck.
3. How to hook up headache rack lights?
The lights used on headache racks are normally hardwired to the electrical system of the truck with weather-resistant wiring, appropriate connectors, and shielded wiring within the truck bed or frame.
4. Is a headache rack worth it?
Yes. A headache rack gives great cargo security, enhances truck performance, offers mounting of accessories, and prevents pricey damage to the rear window during hauling.
One of the most feasible upgrades a pickup truck can be fitted with is installing a headache rack. It provides a valuable level of security and also opens prospects in terms of improved cargo handling, storage, illumination and organization.
This requires a simple installation procedure, although alignment and firm positioning play a crucial role in long-term performance. Investing an extra minute in installation can save problems down the line and enable you to realize the maximum benefit of your investment.