
Using a heat gun on car paint is one of the fascinating dimensions discovered by many amateur car owners and enthusiasts under the DIY process.
But the real question is, does a heat gun really have the potential to transform how you treat your car paint? If yes, is the effect of using a heat gun on car paint positive or negative?
What exactly is a heat gun and what are its uses? Well, these are some of the common questions you need answers to if you want to use a heat gun as an auto-detailing tool.
From understanding the science behind the heat gun to mastering the art of using it on car paint and many other automotive parts is what you will discover in this post.
What is a heat gun?
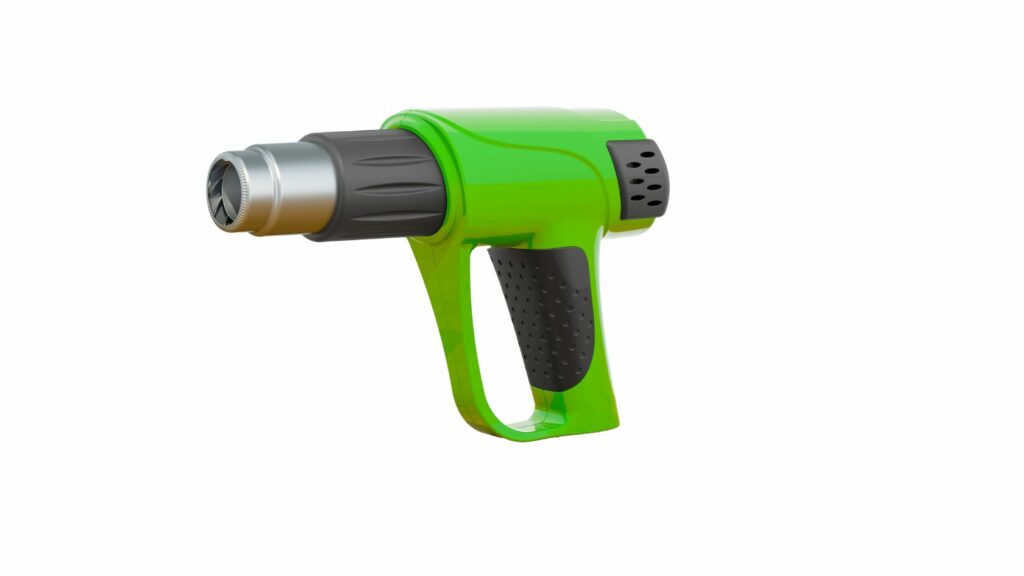
A heat gun is a versatile tool that emits or blows a controlled stream of hot air just like a hairdryer, but with a different purpose and a punch.
Heat guns are commonly used in various industries, including automotive, due to their ability to apply precise amounts of heat to different materials.
So, how does it exactly work? A heat gun operates by drawing in air, which is then heated and expelled through a nozzle.
The temperature, which is the most crucial element while using a heat gun can be adjusted based on your needs, allowing you to fine-tune the heat level for different tasks.
Most heat guns offer a range of temperatures, typically starting around 100°C (212°F) and going up to 600°C (1112°F) or even higher.
Uses of a heat gun in the automobile segment
In the automobile segment, a heat gun becomes an essential ally for tasks that require careful temperature control.
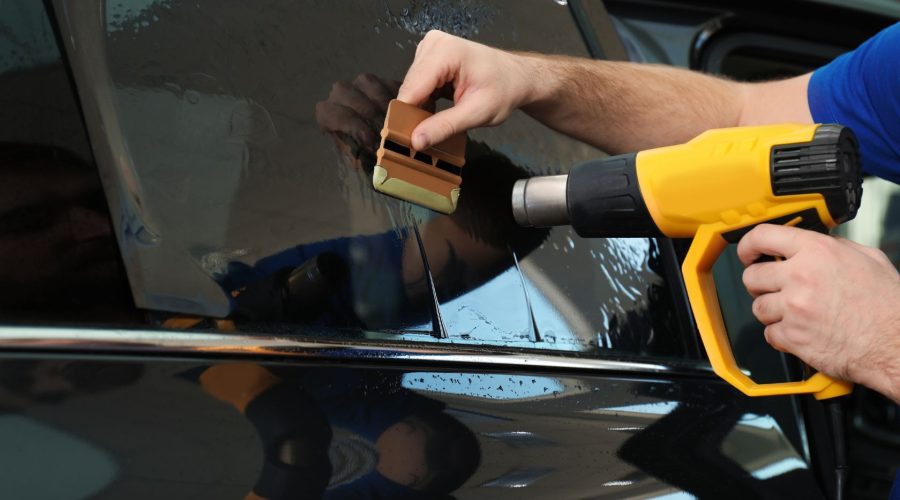
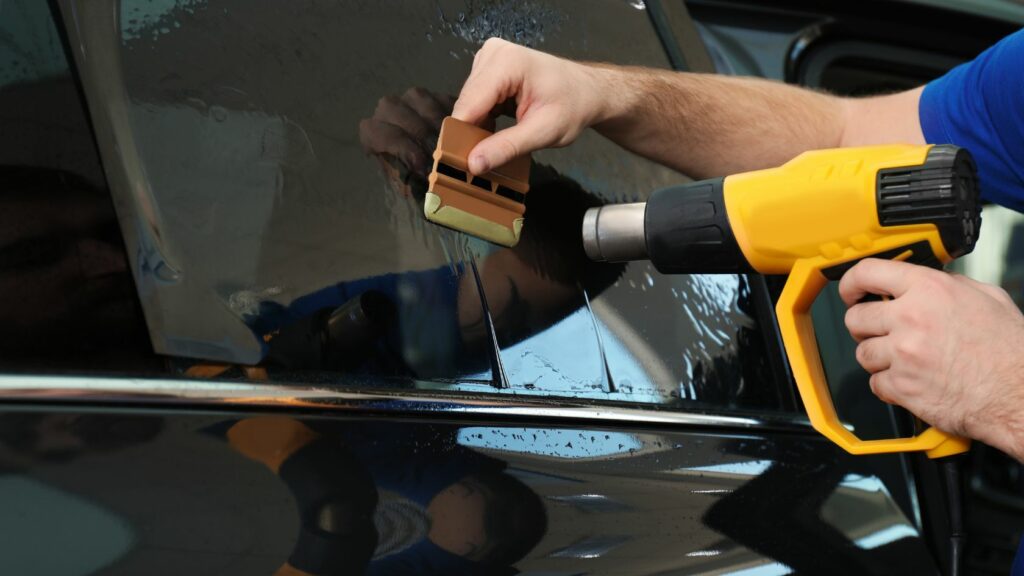
One of its primary uses is for paint-related work. It helps in removing decals, stickers, and paint protection films by softening adhesives, making removal easier and safer for your car’s finish.
This precision comes in handy when you want to personalize your ride or simply give it a fresh look.
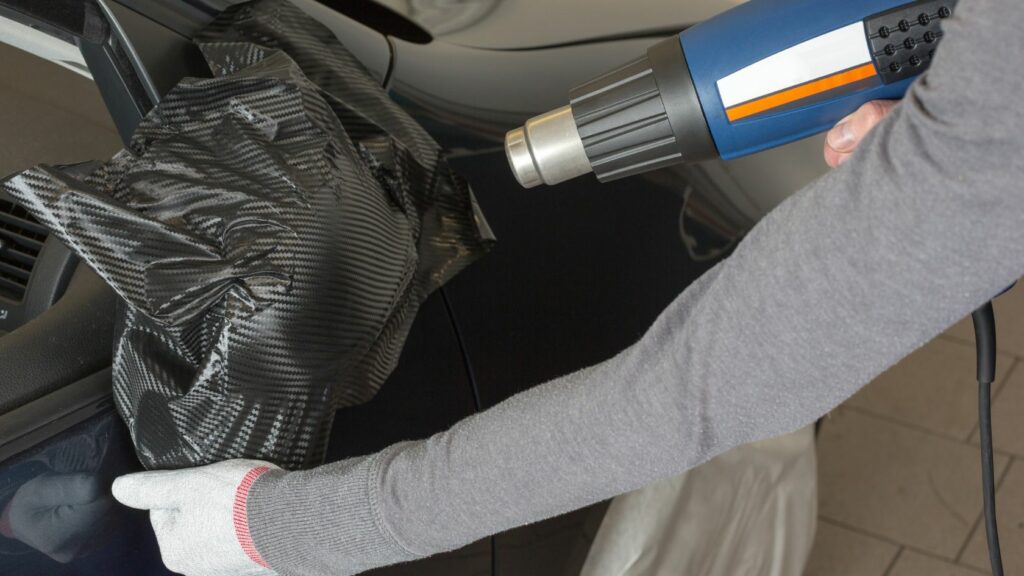
The usage of a heat gun extends to vinyl wraps as well. You can reshape vinyl wraps with the help of heat, ensuring they hug your car’s contours perfectly. It’s like a tailored suit for your vehicle.
But it’s not just about aesthetics. Heat guns are also great for thawing out frozen parts during winter. When ice and snow cling to your car’s surfaces, a heat gun can melt them away without causing scratches or damage.
However, using a heat gun requires finesse to achieve proper results. The right temperature, distance, and timing are crucial.
So, when you’re looking to remove, reshape, or defrost your car’s/motorcycle’s paint make sure to consider all the above factors to avoid any adverse effects of a heat gun.
Using a Heat Gun on Car Paint: Tips and Precautions
If you are thinking of using a heat gun instead of conventional solutions on your vehicle then here are some of the important tips and precautions you must consider:
The temperature
Temperature control is the heart of using a heat gun on car paint. The magic here lies in finding the right balance – not too hot to scorch the paint, yet not too cold to leave the task incomplete.
When it comes to temperature, different scenarios call for different levels of warmth.
In colder weather, such as during winter, it’s essential to take extra caution. Cold temperatures can make the paint more brittle, so using a heat gun can help soften the surface before applying any pressure.
However, be mindful not to crank up the temperature too high. Start around 100°C (212°F) or less and work your way up gradually. This prevents thermal shock to the paint, which can cause cracking.
On the flip side, hotter weather requires a different approach. When the sun has warmed up your car’s surface, it’s wise to keep the heat gun at a lower setting.
A temperature range of 200°C to 300°C (392°F to 572°F) is generally safe for most tasks on a hot day. This ensures that you don’t accidentally blister the paint due to excessive heat.
Different surfaces of your vehicle also demand different temperatures. Delicate areas like plastic trims or rubber seals should be treated with lower temperatures to prevent melting or distortion. On metal or glass surfaces, you can use slightly higher temperatures without causing harm.
It is sensible to adjust your heat gun’s temperature settings based on the conditions and surfaces you’re working with.
The distance
Maintaining the right distance is equally important while using a heat gun. It’s all about finding that sweet spot that ensures effective results without causing harm.
Generally, when working with a heat gun, aim to keep the nozzle about 6 to 8 inches away from the surface. This distance ensures that the heat is evenly distributed over the surface without creating hot spots.
If you are working in cold weather, you might need to adjust the distance slightly. Keep the heat gun closer to the surface by reducing the distance by around 4 to 6 inches.
This way you are allowing the paint to get the necessary warmness while also preventing the dispersing of heat which is quite a common scenario in the winter season.
On the other hand, when dealing with hotter temperatures, aim to increase the distance by 8 to 10 inches. This will prevent overheating which can otherwise cause damage to the car’s paint.
Apart from weather, different surfaces like plastic or rubber should be treated with greater caution, keeping the heat gun slightly farther away to prevent distortion, and, tougher surfaces like metal can handle a closer distance without issues.
The timing
Time is another partner in this heat gun ballet. While you might be tempted to speed through the process, remember that patience is the key.
It’s about knowing when to lead when to pause, and when to wrap up the performance. When applying heat with a heat gun, short bursts are your best bet.
Apply the heat for about 10 to 15 seconds and then pause. Observe how the paint responds, and adjust accordingly. This prevents overheating and potential damage to the paint.
In terms of weather, again patience becomes your partner in colder conditions. Cold paint takes longer to respond to heat, so extend your heating intervals slightly say by around 20 seconds, and be attentive to any changes in the paint’s texture.
On hotter days, when the sun’s warmth is already present, you might need shorter heating intervals of around 5 to 10 seconds to avoid overdoing it.
Remember, the heat gun’s purpose is to complement the existing temperature, not overwhelm it.
You might need to vary the timing of using a heat gun for different tasks. For example, when removing decals or stickers, focus on the adhesive area for shorter intervals.
This tandem of heat and motion helps ensure that the adhesive releases without leaving any unwanted marks.
Similarly, when reshaping vinyl wraps, apply heat along the entire area to make it pliable for a slightly longer duration.
Is using a heat gun on car paint safe? Precautions and best practices
Yes, using a heat gun on car paint is normally safe if you take proper precautions and follow best practices.
Before you begin to use a heat gun it is important to gear up. Protective gloves and goggles are your safety partners.
They shield your hands and eyes from any unexpected turns – be it a burst of steam or a tiny paint chip sent flying by the heat gun’s airflow. These simple accessories not only protect you but also enhance your confidence as you work.
Next, watch how the paint responds – does it bubble, blister, or warp? This mini preview helps you gauge how your car’s paint will react to the heat and adjust your approach accordingly.
Be careful while using the heat gun. Excessive heat can damage the clear coat and even the paint itself. This is where moderation becomes your guiding principle.
Avoid lingering on one spot for too long, as it could result in overheating. Instead, maintain a steady and fluid motion.
Another important safety aspect is surrounding materials, like plastic trims or rubber seals. These can be sensitive to heat if they are lying close to the location of using a heat gun.
To prevent unintended damage, use painter’s tape or aluminum foil to protect these areas from the heat gun’s direct airflow.
With these safety measures in place, your heat gun becomes a tool that ensures both your safety and your car’s well-being.
How to maintain the heat gun treatment on car paint?
It’s important to ensure your car’s paint retains its radiant finish. To help maintain your heating efforts, give the paint a moment to settle before you touch it.
The heat may have softened the surface, and immediate contact could lead to unintended impressions. Once the paint has cooled, gently run your fingers over the treated area to ensure that it’s smooth and free from any abnormalities.
To add an extra layer of protection and restore the shine, apply a layer of wax. The wax helps seal in the rejuvenated beauty and guards against potential contaminants that might dull its glow.
Routine maintenance like regularly washing and waxing your vehicle not only enhances its appearance but also prolongs the effects of your heat gun endeavors.
The combination of post-heat care, waxing, and maintenance ensures that your DIY efforts don’t just create a temporary spectacle but leave a lasting impression.
When not to use a heat gun yourself?
While using a heat gun on your car’s paint offers a rewarding DIY experience, there are situations where expertise is the real star of the show.
So, when should you seek professional help using a heat gun? If you’re dealing with intricate or extensive paint damage, such as deep scratches or chipped areas, it’s best to consult professionals.
They have the tools and techniques to address these challenges effectively, often involving comprehensive repairs and repaints. Attempting to tackle major damage with a heat gun might lead to suboptimal results or further complications.
Additionally, if your car is a candidate for a full repaint, the expertise of professional painters is unparalleled.
They possess the knowledge to assess your car’s needs and apply a fresh coat of paint with precision, resulting in a flawless finish that can transform your car’s appearance.
How to restore faded plastic trim with a heat gun?
Using a heat gun effectively to restore faded plastic trim requires patience and attention to detail. Follow the steps below to rejuvenate the trim and give your vehicle a refreshed and polished appearance:
- Start by cleaning the trim thoroughly to remove dirt and grime.
- Choose a day with moderate temperatures – around 100°C is ideal – to avoid overheating the plastic.
- Maintain a distance of 6 to 8 inches between the heat gun nozzle and the trim.
- Apply heat in short intervals of 10 to 15 seconds, moving the heat gun along the length of the trim.
- Pause occasionally to assess the progress. Work methodically, ensuring even coverage.
- As the plastic begins to regain its color, adjust the timing and distance accordingly. Avoid prolonged exposure to prevent warping or melting of the trim.
Here’s one of the videos that I want you to watch to experience the practicality of using a heat gun on car plastics:
Heat Gun vs. Blow Dryer: Which is better on car paint?
A blow dryer or a hair dryer is another option that is often used by many motorists on their vehicle paint and plastics. While both tools emit hot air, their performance and effectiveness can vary significantly based on the task at hand.
Heat Gun
As we have seen above, a heat gun is purposely built for tasks that demand precise temperature control and focused heat application.
It offers adjustable temperature settings, allowing you to tailor the heat to the specific requirements of the paint or plastic. This precision makes it a favored choice for professional car enthusiasts and detailers.
Blow Dryer
On the other hand, a blow dryer, commonly used for hair styling, can also provide some warmth but not to the level of a heat gun.
Generally speaking, the heat output of a blow dryer is much lower than that of a heat gun. As a result, you may not be able to achieve the desired results, especially for tasks that require higher temperatures or even heating.
So, which is better on car paint?
While a blow dryer might suffice for simpler applications, such as light drying or warming, it falls short of delivering the precision and effectiveness required for more intricate automotive tasks.
If you are seeking adjustable temperature settings, greater heat output, and precise control to complete tasks involving car paint and plastic trim restoration then a heat gun is a superior choice.
Related Read: 3 Best Plastic Restorers
Final thoughts
Using a heat gun on car paint can prove to be a versatile tool in your DIY car care kit.
Whether you want to perfect a vinyl wrap, battle stubborn bubbles, or add a personal touch to your car’s exterior, the heat gun’s gentle warmth has the power to transform your car’s appearance.
But the result of the heat gun doesn’t come without proper usage. Your understanding of temperature, distance, and timing is the key to achieving exceptional results.
Similarly, by adhering to safety precautions and best practices from this post, you can ensure that both you and your car emerge unscathed.
Remember, a heat gun isn’t just a tool; it’s a partner that can enhance your car’s aesthetics with careful guidance and attention.