
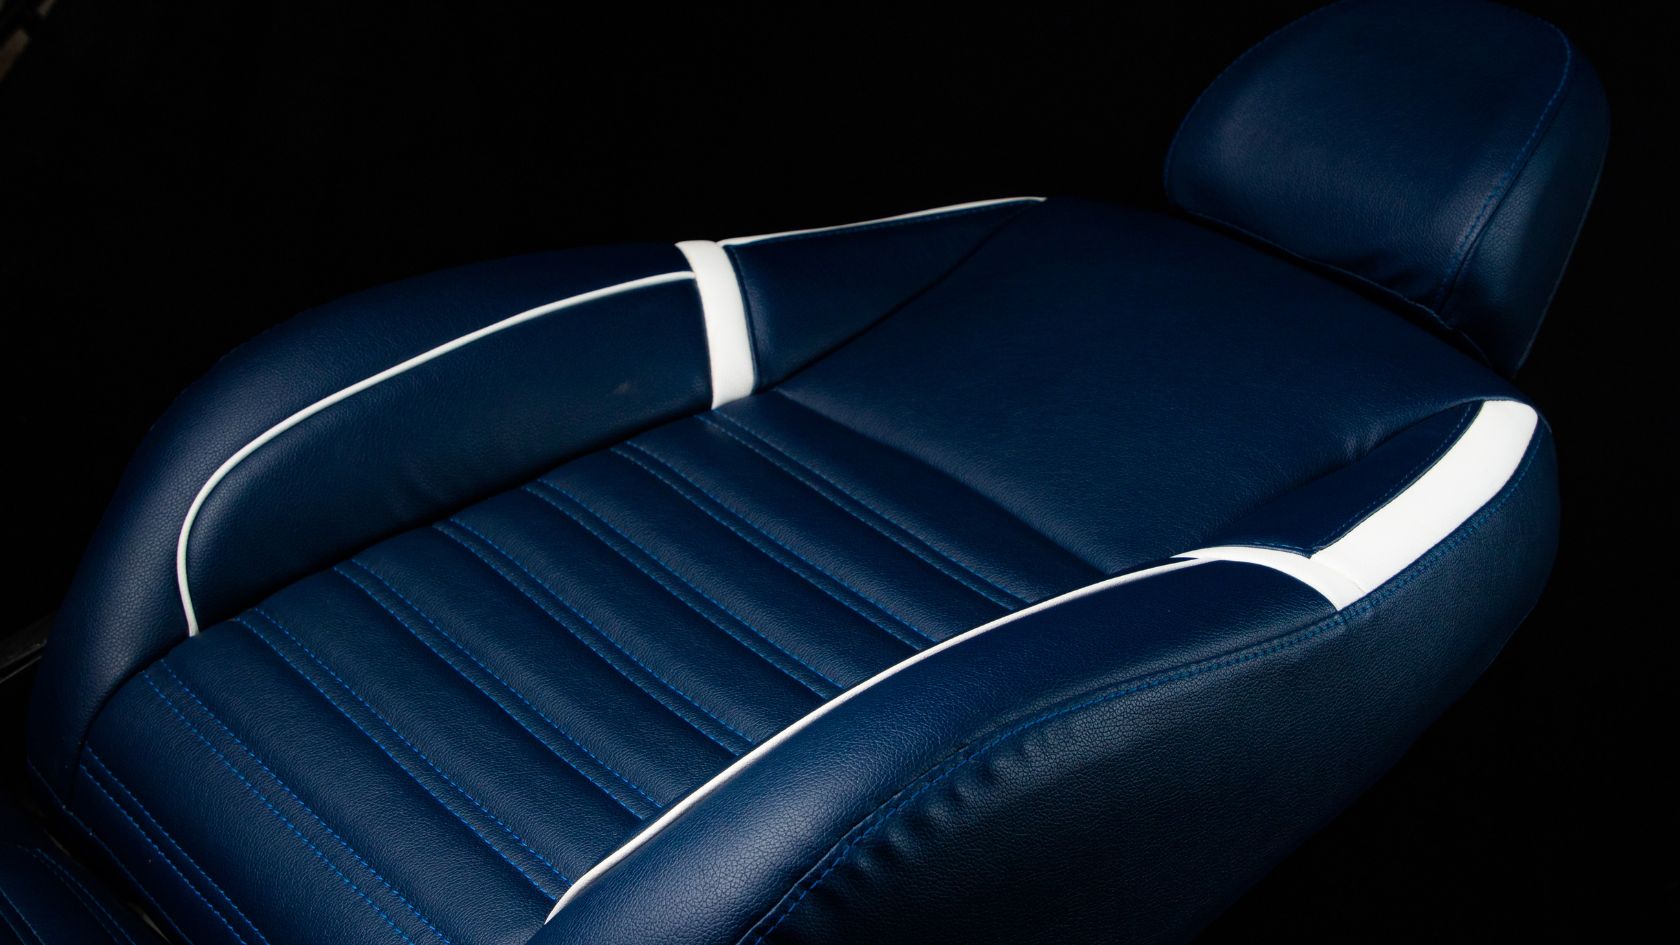
Car seat covers play a pivotal role in maintaining the aesthetics and comfort of your car’s interior. Automotive enthusiasts often ask themselves, “Can you get car seat covers replaced or changed?” To answer this question, we’ll explore the reasons behind car seat cover replacement, DIY options, professional services, and valuable tips in this blog post to ensure your car seats always look their best. Yes, you can definitely get car seat covers replaced or changed. There are a few reasons why you might want to do this. Perhaps your current covers are worn out, stained, or ripped due to daily use, exposure to sunlight, and spills. Or maybe you just want to give your car a new look and feel. Whatever your reason, the importance of replacing them goes beyond aesthetics; it contributes to the overall hygiene and cleanliness of your car’s interior. The good thing is, that getting new seat covers is a relatively easy process, and replacing them is a great way to freshen up the interior of your car. Fading of color or material – If you notice a significant change in color or the fabric’s integrity, it might be time for a replacement. Visible tears, cracks, or rips – Tears and cracks not only compromise the look but can also lead to discomfort while driving. Unpleasant odors – Lingering smells that persist despite cleaning efforts indicate deeper issues and may necessitate a change. Car seat covers come in various materials, including leather, vinyl, fabric, neoprene, and more. The market offers different styles and designs, allowing car owners to personalize their vehicles. The first step is to decide what type of seat covers you want. Each type has its own pros and cons, so it’s important to do your research before making a decision. You’ll also need to consider the color and design of the covers to ensure they match the interior of your car. For those looking to add a personal touch to their car’s interior, customization is an exciting option. Whether you prefer unique patterns, materials, or colors, customization allows you to make your car seat covers stand out. Once you’ve chosen your new seat covers, you can either install them yourself or have a professional do it for you. Yes, you can replace car seat covers yourself. It is a relatively simple process that can be done with a few basic tools, materials, and a bit of patience. DIY Approach Here is a general overview of the steps involved: Gather your materials – You will need a set of car seat covers, a flathead screwdriver, a socket wrench, and a pair of pliers. You may also want to have a few extra clips or hog rings on hand, just in case. Removing the old seat covers – Start by carefully removing the old seat covers, taking note of the attachment points. First, remove the headrests from the seats. Then, use the flathead screwdriver or socket wrench to remove any screws or bolts that are holding the seat covers in place. Once the screws or bolts are removed, you should be able to pull the old seat covers off of the seats. Preparing the new seat covers – Ensure the new seat covers match the specifications of your car seats, and make any necessary adjustments. Installing the new seat covers – Follow a systematic approach to ensure a snug and secure fit. Start by laying the new seat cover over the seat. Make sure that the cover is aligned properly and that the seams match up with the contours of the seat. Then, use the hog rings or clips to attach the seat cover to the seat frame. Be sure to tuck the cover into the seams of the seat to prevent it from slipping. Reinstall the headrests – Once the seat covers are installed, you can reinstall the headrests. Test the seat covers – Make sure that the seat covers are secure and that they do not interfere with the operation of the seats or seat belts. Here is a small video on how to replace car seat covers yourself for ease of understanding: Considerations Before DIY Replacing car seat covers can be a time-consuming process. Be patient and take your time to do it right. Before embarking on a DIY replacement, consider your skill level, potential challenges, and the time required. If you’re unsure or the task seems daunting, seeking professional help might be a better option. Opting for professional services has its advantages, including a precise fit and a polished finish. While it may incur additional costs, the expertise and efficiency offered by professionals can outweigh the DIY approach. Several options are available for getting your car seat covers replaced: Local auto upholstery shops: These professionals specialize in car interiors and can provide tailored solutions. Car dealerships: Dealerships often offer replacement services, ensuring compatibility with your car model. Specialized car accessories stores: These stores offer a variety of off-the-shelf options and may also provide installation services. Online platforms and customization services: Explore online platforms for a wide range of choices, and some even offer customization services. Choosing the right replacement car seat covers can be a daunting task, given the wide variety of options available. However, by considering your needs and preferences, you can narrow down your choices and find the perfect covers for your car. Here are some factors to consider while choosing a car seat cover replacement: Material: Car seat covers are made from a variety of materials, including leather, fabric, cotton, polyester, neoprene, wool, and vinyl. Leather is the most luxurious option, but it can also be the most expensive. On the other hand, fabric is a more affordable option, and it is also available in a wide variety of colors and patterns. Many people prefer cotton which is highly breathable but is prone to staining and fading. As an alternative, you can go for polyester which is stain-resistant and durable but lacks breathability like cotton. If you are

Can You Put a Blanket Under a Car Seat?
Can you put a blanket under a car seat without compromising safety? This query, though deceptively simple, unravels a collage of considerations that demand meticulous attention. Understanding the safety implications of blankets under car seats is important to keep the delicate balance between coziness and security. How can one maintain both comfort and safety without resorting to the familiar warmth of a blanket? In this blog post, we’ll reveal not only the practical aspects but also consult experts to distinguish the do’s and don’ts of car seat safety. No, you should not put a blanket under a car seat, as this can interfere with the proper installation of the car seat and make it unsafe for your child. The car seat should be installed directly on the vehicle seat, without any additional padding or material underneath it. This will ensure that the car seat is securely fastened and will not move around in the event of a crash. If you are concerned about protecting your car seat from spills or stains, you can use a car seat protector. To keep your child warm in the car, you can put a blanket over them once they are securely fastened in the car seat. Just make sure that the blanket is not too thick or bulky, as this can interfere with the harness straps which could impact the restrain functionality of a car seat. Placing a blanket under a car seat can have several detrimental effects on its installation and overall safety during a crash. First, placing a blanket can hinder the proper tightening of the car seat base, preventing it from being firmly secured to the vehicle’s seat. This loose installation can cause the car seat to shift or tip during a crash, increasing the risk of injury to the child. It can also interfere with the proper positioning and tightening of the harness straps. If the blanket bunches up or shifts, it can loosen the straps and reduce their ability to restrain the child in a crash. Moreover, blankets can obstruct essential car seat features, such as LATCH connectors or manual tightening mechanisms. This can make it difficult or impossible to install the car seat correctly. Make sure the car seat is installed directly on the vehicle seat, without any extra padding or materials. The strategic approach of proper installation guarantees a steadfast, immovable anchor in the unfortunate event of a crash. Many people use blankets under a car seat to prevent spills and stains. If this is your main concern the solution lies in a simple yet effective accessory: the car seat protector. Car seat protectors are specifically designed to fit over the car seat and are made from a thin, non-slip material that will not interfere with the installation of the car seat. Car seat protectors come in various materials, from water-resistant fabrics to easy-to-clean, spill-resistant surfaces, ensuring a versatile defense against liquid mishaps. When it comes to usage, the application of car seat protector is user-friendly. Most protectors are designed to effortlessly fit over your existing car seat, offering an additional layer of defense without compromising comfort. Weather situations such as cold winters demand additional protection. Is putting a blanket under a car seat safe during winter? To some extent, yes! If you are traveling in cold weather, you can put a thin blanket over the child after they have been securely buckled into the car seat. However, the blanket should not go underneath the child’s body or the harness straps. It is also important to make sure that the blanket is not too thick, as this could make it difficult to properly adjust the harness straps. Regarding winter car seat covers, it’s generally safe to use them as long as they meet specific safety standards. Look for covers that are flame retardant, have a snug fit, and don’t interfere with the car seat’s harness or recline functions. Avoid covers with thick padding or excessive fabric, as these can affect the proper fit of the car seat and compromise safety. Dressing your baby safely in a car seat during winter requires a balance of warmth and safety. Here are the important considerations while dressing your baby in a car seat during winter: Putting a towel under a car seat may compromise the safety of the seat and, consequently, the well-being of the child. Safety experts recommend against placing any additional padding, including towels, under a car seat. Car seats that are directly installed on the vehicle seat adhering to the manufacturer’s guidelines ensure proper alignment and secure attachment. This minimizes the risk of movement during a collision. Using towels or other makeshift materials may interfere with the car seat’s stability. Towels compromise the car seat’s ability to protect the child in the event of an accident. It’s essential to prioritize the safety features built into the car seat and follow the manufacturer’s instructions for installation without additional items underneath. The question of placing a blanket under a car seat depends on the individual preference and conditions you are traveling. Putting a blanket or any other material is risky from a safety perspective. It can impact the installation, compromising steadfast security. As an alternative, the use of a car seat protector emerges as a practical solution, offering a balance between warmth and safety. Particularly crucial in winter, the journey to protecting your child becomes a careful navigation of layers, snug harnesses, and informed choices.
Child Car Seat Safety: Avoiding Common Mistakes While Using Baby Car Seats
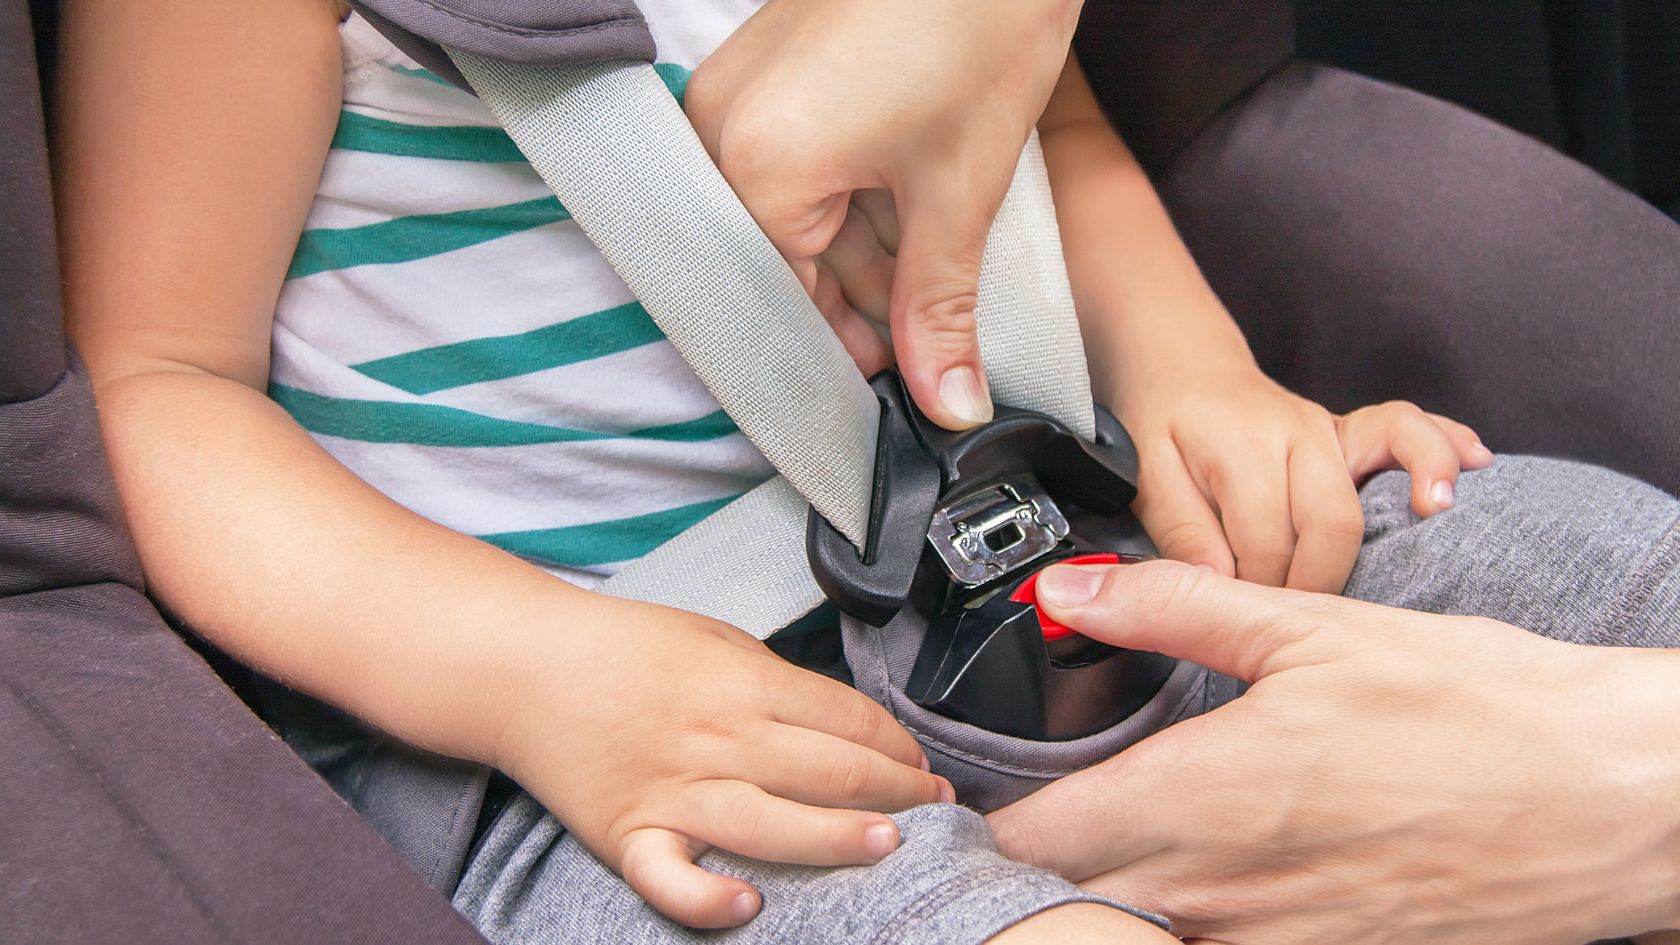
Baby car seat effectiveness and safety hinges on its proper usage. The prevalence of baby car seat misuse is alarmingly high and as parents you should strive to protect your precious ones by avoiding common mistakes while using them. In this informative blog post, you will learn about the nuances and uncover the common pitfalls of baby car seat usage. You will also explore the solutions and tips related to baby car seat comfort and safety. In child safety, baby car seats serve as a cocoon of protection for your little ones from potential harm on the road. These seats are tailored-made shields, meticulously designed to cradle and protect small children during transit. They signify convenience and act as guardians, offering a sense of security that every parent craves. Baby car seats are intricately manufactured with many safety features, including impact-absorbing materials to secure harness systems. It reflects a fusion of engineering prowess and a profound commitment to safeguarding precious small lives. However, a concerning trend that puts countless children at risk is the mistakes due to a lack of knowledge while installing and using car seats. Therefore, understanding the proper techniques for using baby car seats and implementing them appropriately will help you keep your child safe and grant you the ability to embark on journeys with confidence. Car seats are designed to provide maximum protection in the event of a crash, but only when they are installed correctly. Incorrect installation of baby car seats can have devastating consequences for young children in the event of a car accident. Misuse of loose straps in baby car seats can bear profound consequences on child car safety. In fact, loose straps are one of the most common misuses of baby car seats which lead to 40% fatalities among children who were not buckled up at all or buckled up incorrectly. Loose straps can be dangerous because they can allow a child to be ejected from the car seat in a crash. If those straps are not snugly secured, they render the entire setup virtually ineffective. Loose straps compromise the seat’s ability to protect your child, turning a safety device into a potential hazard. During an accident or sudden braking, a child restrained by loose straps can be violently jolted, leading to severe injuries. The straps are the lifeline, the first line of defense, and when misused, they nullify the very purpose of the car seat. Ensuring a proper fit, where the straps lie flat without twists and can’t be pinched at the shoulders, is not just a recommendation; it’s a fundamental necessity. Every adjustment matters, for in the tightness of those straps lies the assurance of your child’s safety during every journey. To prevent loose straps, it is important to tighten them properly each time you put your child in the car seat. The chest strap should be snug against your child’s chest, and the shoulder strap should be snug against the child’s shoulders. Both the snug should be such that you are able to fit two fingers between the strap and your child’s chest and one finger between the strap and your child’s shoulder. This is also called the ‘pinch test’. Here is a small video on how to check the snug and tightness while strapping your child: The recline angle of the car seat is crucial for ensuring that the child’s head and neck are properly supported in a crash. An incorrect recline angle can increase the risk of head and neck injuries. If the recline angle of a car seat is excessively steep it can cause the child’s head to flop forward which increases the risk of airway obstruction and choking. It can also put pressure on the child’s chin and throat, which can lead to injuries. On the other hand, if the recline angle is too flat it can allow the child’s head to fall back too far, putting pressure on the back of their skull. This can again increase the risk of head and neck injuries and can also make it difficult for the child to breathe properly. Most car seats will have a recline angle indicator or marking on the back of the seat. While installing or using the car seat, make sure that the recline angle indicator is aligned with the correct mark. If your car seat does not have a recline angle indicator, you can check the angle by gently tilting the car seat back until the child’s head is in a neutral position. Correct recline angles differ according to different age groups: For infants (Rear-facing children under 1 year old), the recline angle should be between 30 and 45 degrees. This will help to keep the child’s head and neck in a neutral position and prevent their head from slumping forward. For toddlers (Rear-facing children aged 1 to 2 years old), the recline angle should be between 25 and 35 degrees. This will still provide proper support for their head and neck, but it will also allow them to sit up slightly more comfortably. The car seat base or LATCH system should be anchored securely to the vehicle’s seat, providing a stable foundation for the car seat. Improper installation can cause the car seat to move or detach during a crash, putting the child at risk. If the base or LATCH system is not installed properly, the car seat may detach from the vehicle’s seat during a crash. This could cause the child to be ejected from the car seat, putting them at risk of serious injuries. An improperly installed car seat may also move too much during a crash, even if it does not detach. This movement can lead a child to be thrown around inside the car seat, increasing the risk of physical injuries. Even if the car seat does not move, it may not be able to restrain the child effectively in a crash if the base or LATCH system is improperly installed. When it comes to the
How to Carry a Baby Car Seat Properly
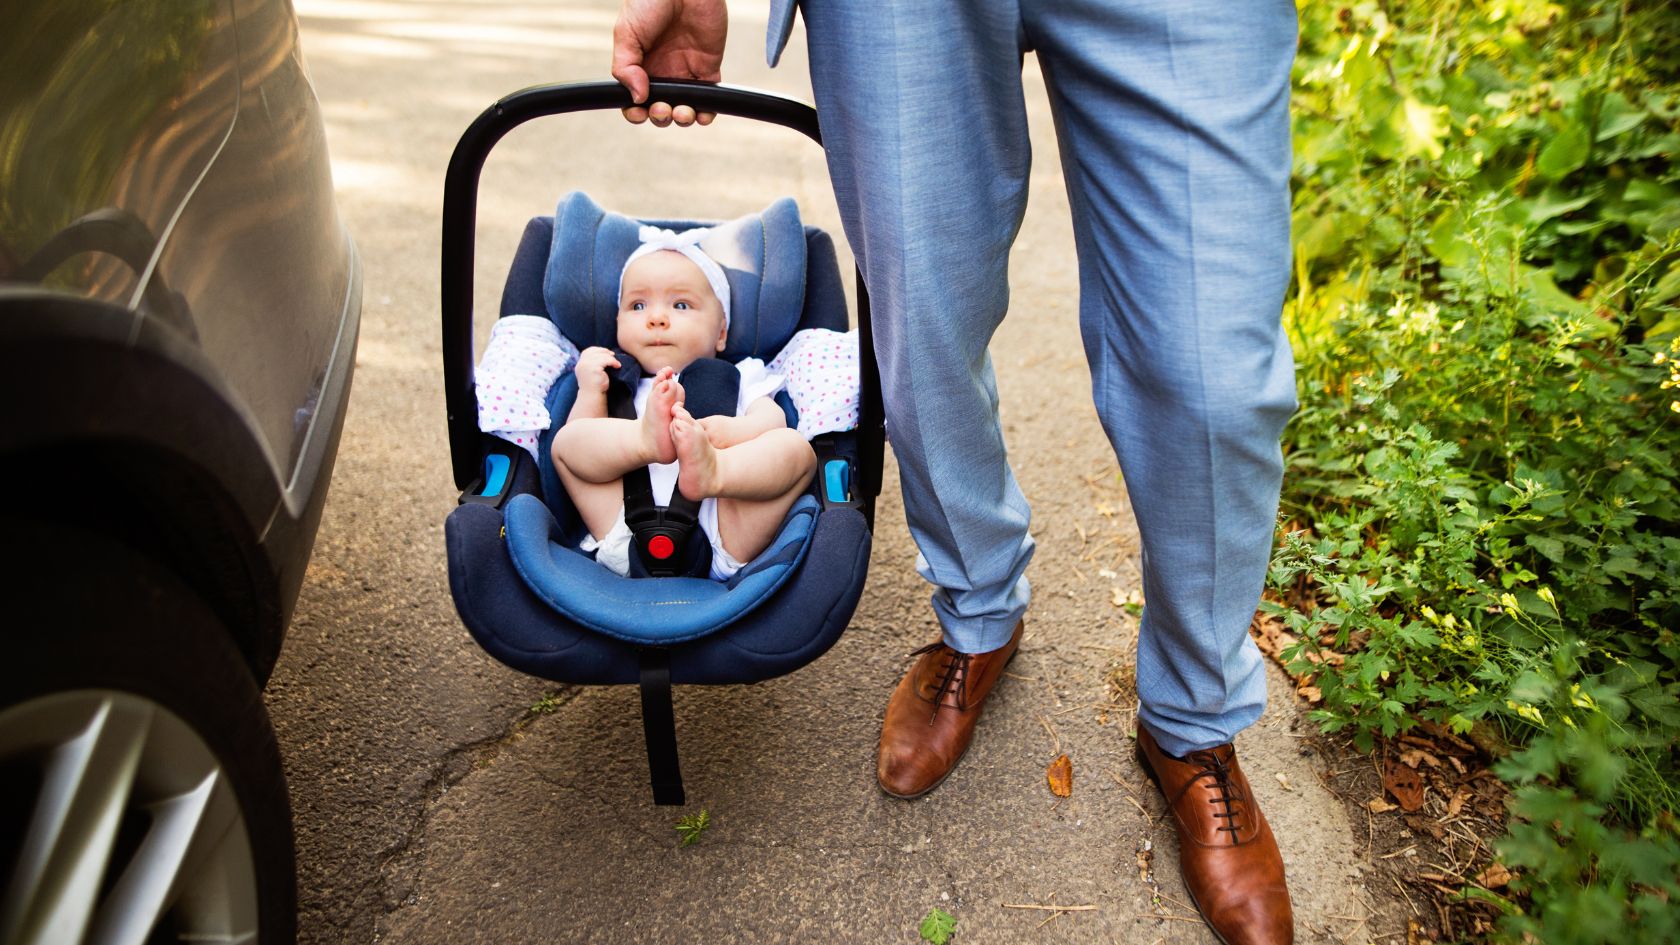
Carrying a baby car seat properly is one of the delicate maneuvers that stand out as both a necessity and a challenge for parents. If you are wondering about the methods and aspects of carrying and transporting a baby car seat in a correct manner and with little effort then this is the post to read. We will cover the optimal ways, navigating efforts in different vehicles and conditions, and safety tips and tricks for traveling with a baby car seat. To carry a baby car seat properly, chiropractic principles emphasize maintaining a neutral spine and correct posture. To achieve this, start by standing tall, aligning your head with your spine, and bending your knees when lifting. Next, loop your arm through the handle of the car seat and out again, so your hand rests comfortably on the side of the car seat. Then, twist your hand and grab the base of the car seat. In terms of lifting, bend down at the knees and lift the car seat with your leg muscles. Avoid bending at the waist to prevent pressure on your back. Once lifted, keep the car seat close to your body. Hold it snugly against your chest or hip. This will help to distribute the weight and prevent you from straining your back. You must also alternate the sides regularly to distribute weight evenly. Engage your core muscles for added support and consider using a supportive carrier or backpack-style diaper bag. A baby carrier is also useful if you want to transport a baby car seat. It can help you carry the car seat if you are going a long distance or if you have to navigate stairs or uneven terrain. From a safety perspective, always make sure that your baby is properly buckled into the car seat before carrying it, and do not carry the car seat in one hand for a long time More importantly, take timely breaks to rest your muscles during prolonged carrying. Here’s a small video demonstrating carrying a baby car seat properly: While the principles of maintaining proper posture and body mechanics apply universally, the practicality of these methods can vary based on individual factors and specific car seat models. Some parents might find these techniques highly effective, especially with lightweight or ergonomic car seat designs. Remember, if you have a heavy car seat, adding wheels or a carrying strap is a better option for convenient movement. Carrying a baby car seat on flights has its own intricacies while navigating. It demands strategic planning and inventive solutions. One approach to do this is utilizing a stroller by attaching the car seat securely with a bungee cord or strap. This method not only ensures easy maneuverability through the airport but also allows the folded stroller to fit neatly into the airplane’s overhead bin. Another alternative is a specialized car seat cart that offers a practical solution. Again, attach the car seat to the cart and fold it up to effortlessly store it in the airplane’s overhead compartment. For those with a bit more cargo, a wagon proves invaluable. However, it’s essential to check with the airline beforehand, as policies regarding gate-checking a wagon can vary. Additionally, employing a backpack not only accommodates the car seat but also provides hands-free mobility, enhancing ease of movement. Some backpacks even feature wheels for added convenience. These innovative methods significantly ease the logistics of handling a baby car seat during air travel, ensuring a smoother journey for both parents and their little ones. In the blistering summer, a car seat can swiftly transform into a sizzling spot. Combat this with the following strategic measures: Remember, well-ventilated clothing for your baby is key; dress them in light, moisture-wicking fabrics to mitigate discomfort. By integrating these tactics, you ensure your baby’s car seat remains a cool oasis amid the sweltering summer, ensuring both safety and comfort during travels. Here are some safety tips and tricks for traveling with a baby car seat: Before you travel: While traveling: These safety tips and tricks help you create a secure and comfortable environment, ensuring both peace of mind and a pleasant travel experience for you and your precious passenger. Properly carrying a baby car seat integrates essential chiropractic principles for spinal health and correct posture. Body alignment, standing position, head, spine, and knees all play an important part while lifting a baby car seat. The techniques, coupled with insights on carrying a baby car seat in flight, keeping it cool in summer, and essential safety tips shared in this post, empower parents with comprehensive knowledge for seamless and secure travel. Remember, these methods not only guarantee your baby’s safety but also grant you the freedom to travel with confidence and ease.
Low Rolling Resistance Tires: Pros and Cons
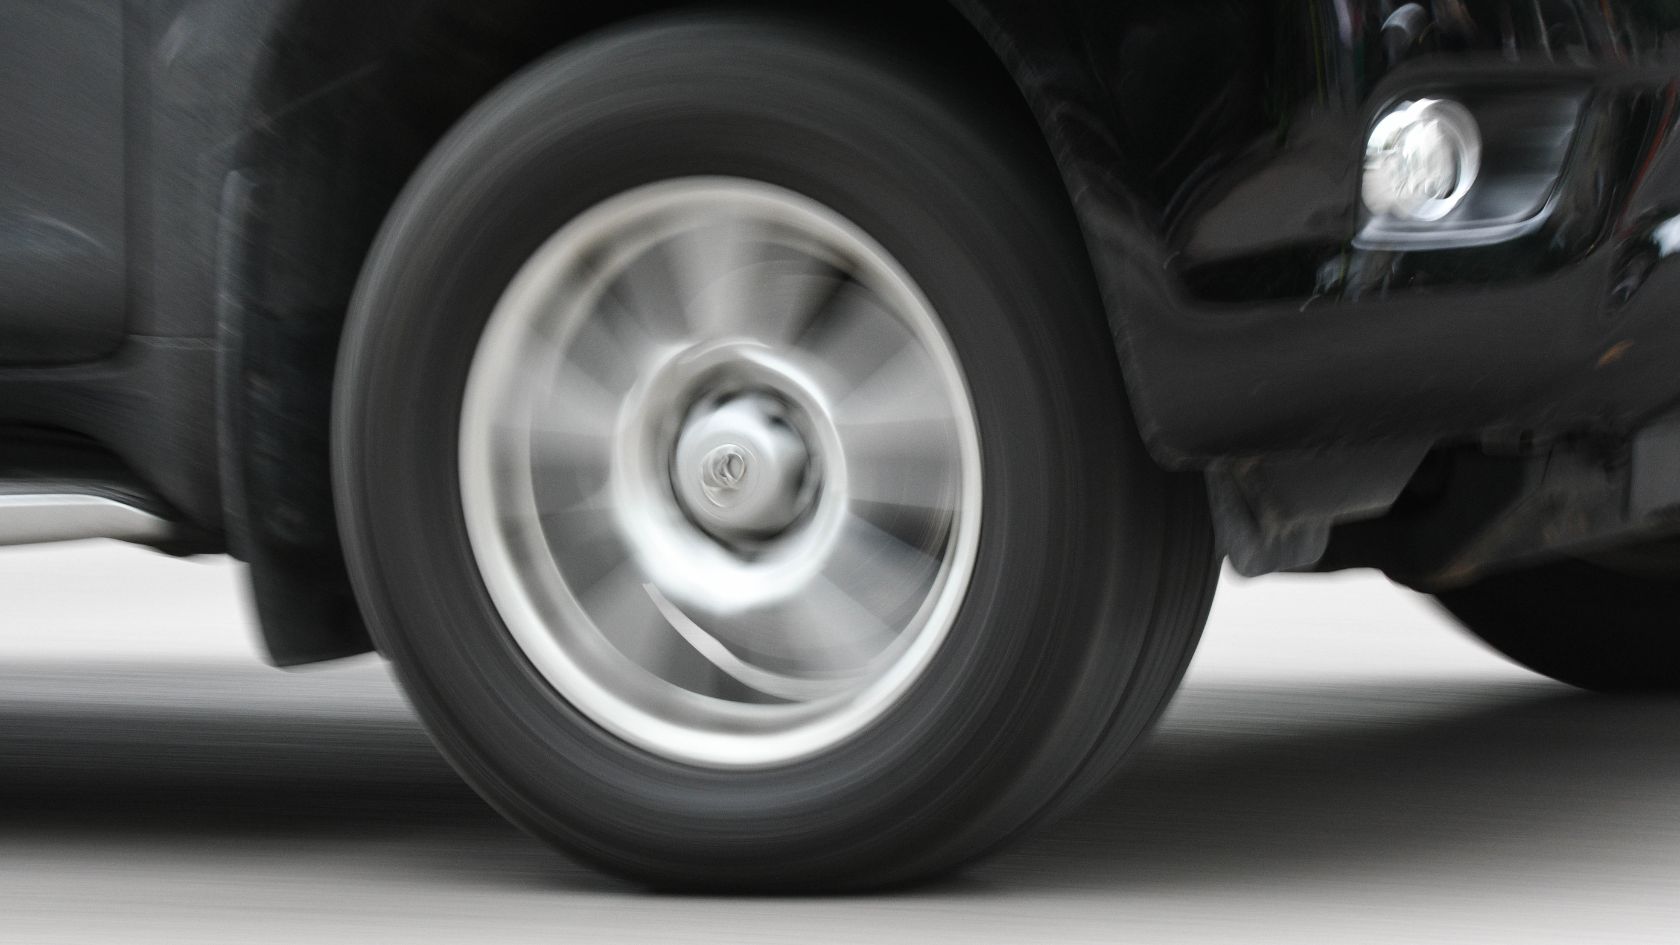
In this blog post, we will be exploring low-rolling resistance tires with their pros and cons. Ever wondered how these specialized tires impact your driving experience? Are they truly eco-friendly, fuel-efficient, or just another automotive hype? We will answer all these questions and more, providing you with comprehensive insights into the world of low-rolling resistance tires revealing their advantages, and potential drawbacks, and even comparing them with regular tires. A low rolling resistance (LRR) tire is meticulously crafted with a harder tread compound and a sleeker tread pattern to minimize the energy needed for tire rotation. These design elements work in harmony to diminish the friction between the tire and the road, consequently reducing rolling resistance and enhancing fuel efficiency. But how do they achieve this feat? LRR tires operate by curbing the deformation that occurs when the tire makes contact with the road surface. As the tire rolls, it naturally deforms slightly to establish grip. This deformation demands energy, which is precisely where LRR tires excel. Through the utilization of a harder tread compound, these tires resist deformation more effectively than their softer counterparts. Additionally, the adoption of a smoother tread pattern, characterized by fewer grooves and sipes, means there is less surface area for the tire to grip the road, further minimizing resistance. In essence, LRR tires are ingeniously engineered to optimize your driving experience by conserving energy, reducing friction, and ultimately enhancing fuel efficiency. Here are the main advantages and disadvantages of Low Rolling Resistance (LRR) Tires: Advantages of Low Rolling Resistance Tires: Improved Fuel Efficiency – LRR tires can enhance fuel efficiency by up to 3%. The percentage can vary depending on the circumstances you drive in and the way tires are used. While 3% might seem like a small percentage, it still translates into substantial savings at the gas pump over time, making them an eco-conscious choice for budget-conscious consumers. For instance, if your car normally covers 100 miles with a full tank, LRR tires could extend that to 103 miles, saving you money in the long run. LRR tires achieve this by minimizing the energy required for movement. Reduced Emissions and Noise – In addition to reducing fuel consumption, LRR tires also help diminish greenhouse gas emissions, such as carbon dioxide (CO2), a major contributor to climate change. LRR tires produce fewer emissions which help in reducing the overall carbon footprint of your vehicle. Over time, this contributes to cleaner air and a healthier environment for everyone. This aligns with efforts to mitigate climate change and promote eco-friendly driving habits. Improved Handling and Braking Performance – LRR tires with enhanced handling and braking performance can help you navigate such situations with precision. In emergency stops or sharp turns, these tires provide a better grip, ensuring a safer driving experience. Extended Tread Life – LRR tires often have a longer lifespan than conventional tires due to their durable design. This means they need replacement less frequently, reducing waste and lessening the environmental impact associated with tire manufacturing and disposal. Having said that, some LRR tires, due to their harder tread compounds, can be more abrasive on road surfaces. This might result in increased wear on the road and potentially contribute to road noise over time. Enhanced Electric Vehicle Range – For electric vehicles, the reduced energy demand of LRR tires can extend the driving range on a single charge. This extended range is particularly valuable for EV owners, reducing the need for frequent charging stops. Better Heat Dissipation – LRR tires often generate less heat during prolonged periods of use. This can be advantageous in hot climates, as reduced heat buildup can enhance tire longevity and overall performance. Disadvantages of Low Rolling Resistance Tires: Reduced Grip in Wet and Icy Conditions –LRR tires, while efficient in dry conditions, might struggle to maintain traction on wet or icy surfaces. This is because LRR tires have less rubber compared to conventional tires which reduces its overall grip on the surface. The reduced grip can lead to longer braking distances and potential skidding, making it crucial to drive cautiously in adverse weather. Increased Cost & Lack of Availability – LRR tires, although beneficial in the long term, require a larger initial investment compared to regular tires. While they save on fuel, the initial expense might be a consideration, especially for those on a tight budget. Limited availability is another factor that contributes to the overall cost of LRR tires. Depending on your region or specific tire requirements, LRR tires might have limited availability compared to conventional tires. This limited availability could also pose a challenge when it comes to finding the right LRR tires for your vehicle. Reduced Comfort – LRR tires, due to their firmer construction, might transmit more vibrations and shocks to the vehicle’s cabin. This reduced comfort can impact passengers, especially during long journeys, making the ride less smooth and enjoyable. Performance Trade-offs – In the pursuit of fuel efficiency, LRR tires might compromise certain performance aspects, such as cornering stability and high-speed handling. If you prioritize sporty or aggressive driving characteristics, the trade-offs associated with LRR tires might not align with your preferences. There are a few ways to identify low rolling resistance (LRR) tires: UTQG rating The UTQG (Uniform Tire Quality Grading) rating is a system used to rate tires based on their treadwear, traction, and temperature resistance. LRR tires typically have a UTQG treadwear rating of 600 or higher. EPA Green Label The EPA Green Label is a voluntary program that identifies tires that meet certain fuel efficiency and environmental performance criteria. LRR tires that meet the EPA Green Label criteria will have the Green Label displayed on the sidewall. Tire Labeling Look for the tire label, often located on the sidewall. LRR tires are sometimes marked with specific indicators like “LRR,” “Energy Saver,” or other branding that highlights their fuel-efficient properties. These labels are usually provided by tire manufacturers to help consumers identify LRR tires easily. Consult Tire Retailers or
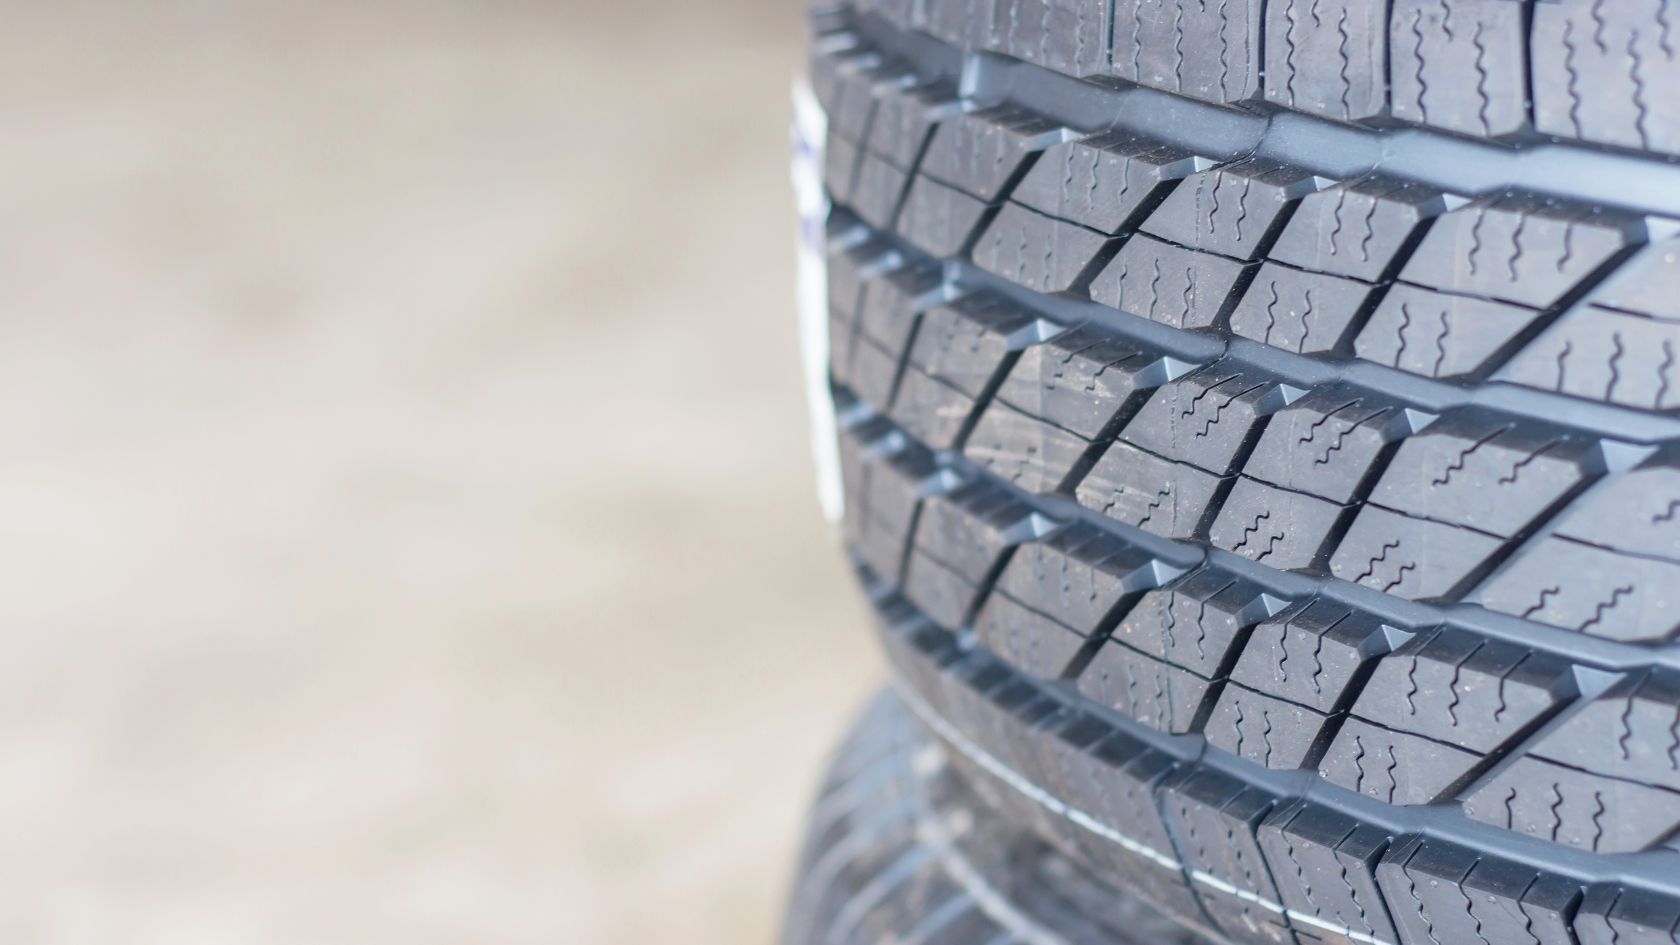
Can You Change the Middle Number on Tires: Possibilities and Impacts
One of the most commonly misunderstood aspects of car tires is the series of numbers on the sidewall, such as 205/55R16. Many motorists consider using different numbers of tires. But can you change the middle number on the tires? The series of numbers and letters might seem alienated to the common users however, these markings contain vital information about your tire’s size, load-carrying capacity, speed rating, and much more. In this informative blog post, we will help you understand tire label readings and how changing them could impact the performance of your vehicle. Yes, you can change the middle number on tires with certain conditions. The middle number, the aspect ratio, is a crucial factor in maintaining the overall diameter of the tire. It represents the height of the tire’s sidewall as a percentage of its width. For example, in the tire size P215/65R15, the 65 (as the middle number) means that the sidewall height is 65% of the tire’s width, which is 215 millimeters. Changing this number can affect your speedometer readings, which means impacts on your car’s handling. If you change the middle number or the aspect ratio, it could lead to inaccurate speed readings and affect the accuracy of your car’s odometer. For example, if you go to a lower aspect ratio, your tires will have a stiffer sidewall, which may improve handling but reduce ride comfort. This scenario will change adversely if you go to a higher aspect ratio. Furthermore, altering this ratio might also cause the tires to rub against the fenders or other parts of the vehicle, which can exaggerate the damage to potential accidents. If you want to change the middle number of your car tire, ensure to keep the overall diameter of your tires the same meaning you will also need to change the width of your tires along with the changed aspect ratio. If the aspect ratio you are choosing is lower than the current one, you will need to go for a wider tire to maintain the same overall diameter. Moreover, do not change the aspect ratio for any one tire. Instead, change the aspect ratio on a pair of tires or all four tires. Also, consider using the changed aspect ratio tires on the rear wheels rather than driving wheels for optimum safety and performance. If you are unsure whether or not it is safe to change the aspect ratio of your tires, it is always best to consult with a tire expert or learn how to read tire labels before choosing the right size tires for your vehicle. To decode the numbers and letters on your tire, let’s break down our example, 205/55R16: 205 (Tire Width) – The first number, 205, indicates the width of the tire from sidewall to sidewall in millimeters. It measures the distance from one sidewall to the other. In this case, the tire is 205 mm wide, which is approximately 8.07 inches. 55 (Aspect Ratio) – The second number, 55, represents the aspect ratio. As mentioned earlier, this is the height of the sidewall from wheel to tread relative to the width of the tire measured in percentage. In this case, the tire’s height is 55% of its width. R (Construction Type) – This indicates the construction of the tire. ‘R’ stands for radial construction, which is the most common type in modern tires. Radial tires have ply cords that run perpendicular to the tread, offering better stability and fuel efficiency. 16 (Wheel Diameter) – This is the diameter of the wheel in inches that the tire is intended to fit. In this example, the tire is designed to fit a 16-inch wheel. 91 (Load Index) – The load index is a two-digit number found next to the tire size. It indicates the maximum weight the tire can support when properly inflated. The higher the load index, the more weight the tire can carry. The load index is calculated per tire which means 91×4. So, if your vehicle weighs 4,000 pounds, each tire with 91V can carry up to 1323 pounds without risking blowouts. V (Speed Rating) – This represents the maximum speed the tire can handle safely. It is denoted by a letter (such as V, W, Y) and corresponds to a specific speed in miles per hour. For example, W indicates 168 mph, and Y indicates 186 mph while in our case V indicates a maximum speed of 149 mph. Apart from the size, there are other markings on the tire that convey essential information: Treadwear, Traction, and Temperature Grades – These grades provide information about the tire’s tread life, traction performance, and temperature resistance, respectively. Treadwear is a three-digit number referring to how long the tire’s tread is expected to last. Higher numbers suggest a longer lifespan. Similar metrics apply to traction and temperature grades. AA stands for the best and C stands for the worst ratings for traction on the road. Temperature ratings range from A (highest) to C (Lowest) to dissipate heat at high speeds. DOT (Department of Transportation) Number – You will also see a 12-digit number on the tire’s sidewall. This is known as the DOT number. It represents the date of manufacture, with the first two digits indicating the manufacture week and the remaining two as the manufacture year. Depending on this information, you can assess the tire’s age and its newness. In our example (1221), the week of manufacture is 12 and the year is 21. Now, that you have understood the information and logic behind tire numbers what happens when you practically change it meaning installing a different aspect ratio of tire than the original ones? Here are some of the impacts on your vehicle’s performance: Speedometer and Odometer Accuracy The aspect ratio is directly related to the overall diameter of the tire. So, if you change the aspect ratio, it will affect the tire’s height from wheel to tread relative to its width. This alteration can lead to inaccurate speedometer readings.