


Adjusting motorcycle chain tension correctly ensures a smooth and safe ride.
Since your motorcycle’s chain plays a vital role in transferring power from the engine to the rear wheel, it is important to learn the aspects of adjusting motorcycle chain tension to keep this process uninterrupted.
If you don’t know how to do it, we will walk you through the step-by-step process of adjusting motorcycle chain tension in this comprehensive guide.
You will know what is chain tension. Why does adjusting a chain tension matter? and the correct adjusting process to do it?
What Is Chain Tension?
Chain tension is the level of tightness or slack in the motorcycle chain. It is the result of the distance between the front and rear sprockets and the length of the chain itself.
Achieving the correct chain tension is crucial for optimal motorcycle performance and safety.
Why Is Chain Tension Important?
The chain tensioner is important for the overall performance, comfort, and safety of a motorcycle.
When a chain is loose, it can wear out the sprockets more rapidly due to increased friction. Owing to looseness, a motorcycle chain can jump off the sprockets or even break while you’re riding, potentially causing accidents.
On the other hand, if the chain is excessively tight it can strain the engine, sprockets, and bearings, leading to premature wear and potential damage.
It is therefore crucial to maintain the correct chain tension as it helps extend the lifespan of both the chain and sprockets.
A correctly tensioned motorcycle chain ensures efficient transfer of power from the engine to the rear wheel. You’ll notice less noise and vibration when your chain is in good condition.
This results in improved fuel efficiency, improved acceleration, and overall performance.
Adjusting Motorcycle Chain Tension Correctly
Now, that you know about the importance of a chain tensioner it is time to learn how to properly adjust it for a smooth and comfortable ride.
Tools and Materials Needed
1. Motorcycle owner’s manual
2. Rear stand or center stand
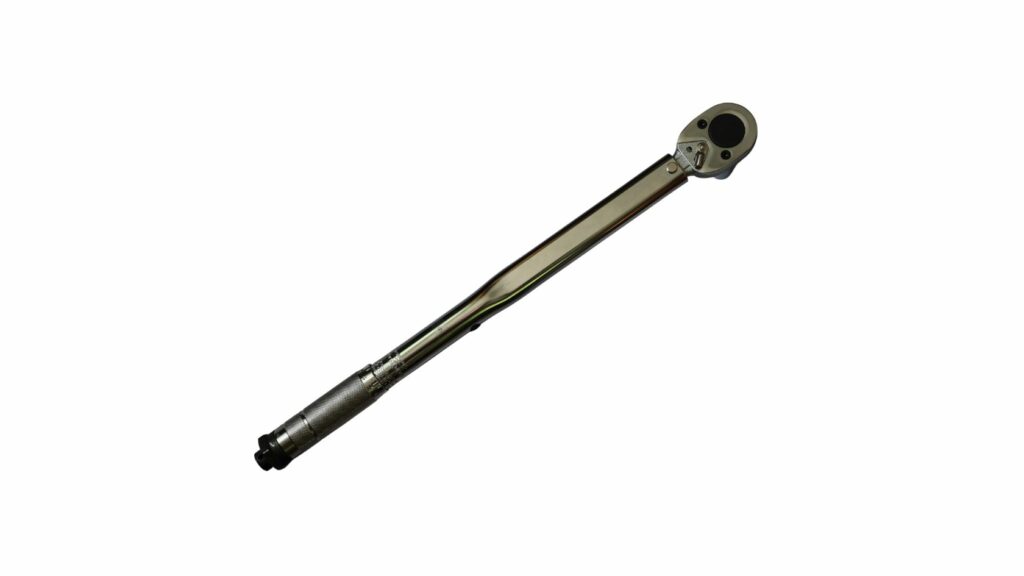
3. Wrenches (a torque wrench precisely)
4. Measuring tape or chain alignment tool
5. Marker or paint
6. Lubricant (depending on the time you have)
7. Paddock stand (optional)
Step-by-Step Guide
Note: Always refer to your motorcycle’s owner’s manual for specific instructions and recommended tension settings.
Lift the Rear Wheel
Put your motorcycle on a rear stand or center stand to elevate the rear wheel off the ground. This step is crucial for accurate chain tension adjustment.
You can use a Paddock stand if your motorcycle is stand-less.
While doing this, make sure you have clear surroundings and a flat surface to avoid incidents of your motorcycle slipping or tipping on the ground.
Locate Chain Adjustment Points
Your motorcycle will have two chain adjustment points, one on each side of the swing arm. These points allow you to adjust chain tension equally on both sides.
To avoid uneven wear, handling issues, and preventing misalignment, maintaining even tension on both sides is crucial.
Use the spanner (13mm) to adjust the chain adjuster bolts on both sides of the swing arm evenly and loosen the rear wheel retaining bolts.
Measuring the Chain Slack
Use a measuring tape or a chain alignment tool to measure the chain slack. Check your owner’s manual for the recommended slack measurement, typically around 20-30 mm.
You can also check the chain slack by lightly tapping the chain under the swing arm. This will give you a feeling of slight movement without any excessive slack.
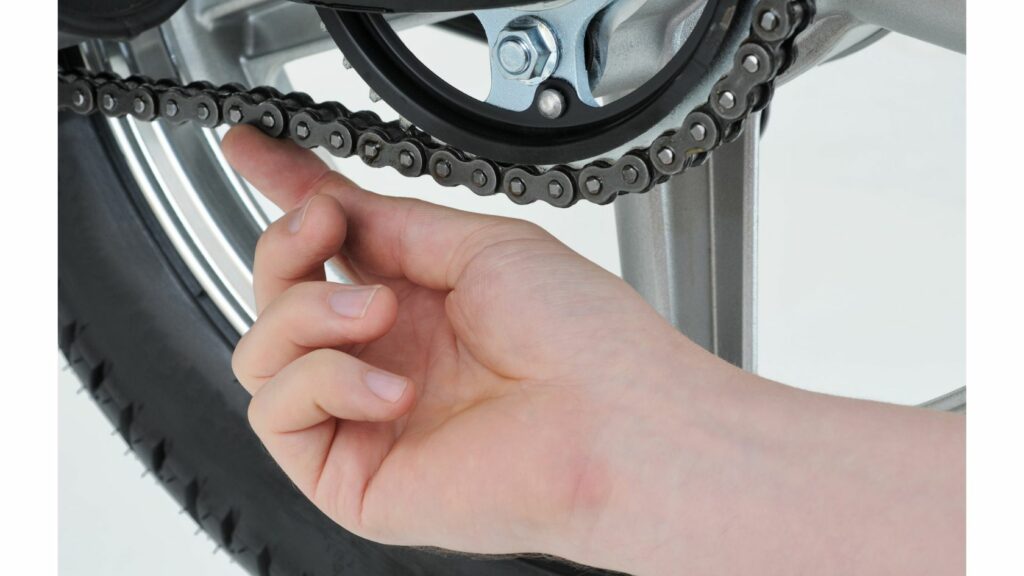
The tight spots between the front and rear sprockets should be your target to measure the slack effectively.
Based on the measurement, mark a chain link with a marker or paint for reference. This will help you keep track of the chain’s movement during the adjustment process.
Adjusting Chain Tension
With the bolts loosened on both ends, you can now use wrenches or a torque wrench to turn the chain adjuster bolts on both sides of the swing arm equally.
Clockwise movement will tighten the bolts and anti-clockwise movement will loosen the bolts. Keep doing this until the recommended chain slack is achieved.
Checking the slack measurement at every quarter per turn is a good idea to make proper adjustments.
Ensure that both sides of the chain have the same amount of slack. This maintains even tension and prevents issues like misalignment.
Recheck and Test
After making adjustments, double-check the chain slack and alignment. Spin the rear wheel to ensure smooth rotation without any tight spots or binding. If everything seems fine that means you have done a great job yourself.
It’s time to tighten up the loosened bolts and all the other parts to bring back your motorcycle chain connection in the correct position.
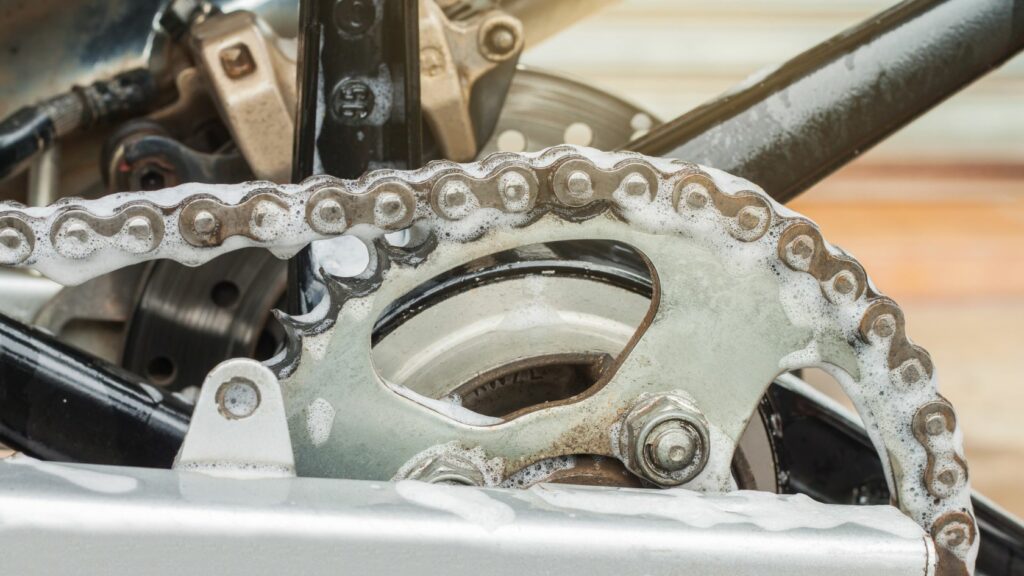
Lubricate the Chain
Applying motorcycle-specific chain lubricant in these conditions will do a whole lot of good to the chain.
Proper lubrication ensures reduced friction and wear and tear on the chain sprocket extending its lifespan.
Here is the complete guide to cleaning your motorcycle chain.
How often should you adjust the tension on a motorcycle chain?
An ideal thumb rule is to check your motorcycle’s owner’s manual for manufacturer-specific recommendations on adjusting frequency.
However, adjusting the chain tension every month or at least every other week, depending on your riding frequency and conditions is generally recommended. If you ride frequently, inspect the chain tension every 500 miles for a better riding experience.
Regular checks and adjustments help ensure that the chain maintains the correct tension, promoting safe and efficient riding, and extending the life of critical components.
What tension should be on a motorcycle chain?
The recommended chain tension for a motorcycle typically falls within the range of 20 to 30 millimeters (approximately 0.79 to 1.18 inches) of slack when measured at a midpoint between the front and rear sprockets.
This measurement is taken with the bike’s weight on its wheels and is usually indicated in the motorcycle’s owner’s manual or on the swing arm.
It’s crucial to adhere to the manufacturer’s specified tension range to ensure safe and optimal performance, as over-tensioned or excessively loose chains can lead to issues like premature wear, decreased performance, or even accidents.
Final thoughts
Maintaining your bike not only enhances its performance but also contributes to your safety on the road. As part of regular maintenance, properly adjusting motorcycle chain tension can significantly impact your riding experience and the bike’s longevity.
If chain tension is misaligned or improper it can directly impact your bike’s performance, safety, and longevity. Therefore aim to adjust your motorcycle chain appropriately to improve your motorcycle’s efficiency.
By following the steps from this post and referencing your owner’s manual, you can keep your chain in optimal condition and enjoy a safer and more enjoyable ride.