
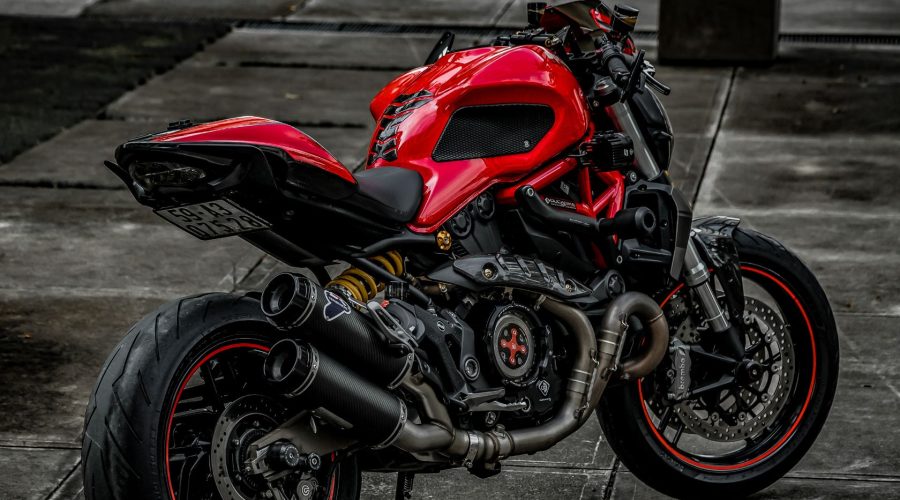

There is no doubt sleek design, roaring engine, and the feeling of freedom your motorcycle gives you on the open road make you proud. But there’s one crucial element that often goes unnoticed until it’s dulled by time and the elements – the plastics.
Those elegant fairings, fenders, and panels that lend your bike its distinctive style can suffer from fading, dirt accumulation, and the harsh effects of the sun.
So, can you restore motorcycle plastics? The answer is yes, you can. Want to know how?
In this guiding blog post, we will be delving into the art of restoring motorcycle plastics by letting you know how to breathe new life into your bike’s appearance and protect its allure for miles to come.
You will learn about the tools, solutions, processes, and techniques of plastic restoration to reclaim your motorcycle’s shine that captures attention on every ride.
Understanding the Restoration Process
Restoring motorcycle plastics isn’t just about self-admiration; it’s a smart investment in the longevity and appeal of your bike.
As a rider, you know that your motorcycle’s aesthetic impact goes hand in hand with its performance.
Exposure to UV rays, oxidation, intense heat, use of abrasive cleaners, and motorcycle aging are some of the potential factors that contribute to fading or discoloration of motorcycle plastics.
The battered plastics on your bike not only diminish its visual appeal but can also lead to more significant issues down the road.
By opting for restoration over replacement, you’re not only saving money but also contributing to a more sustainable approach to motorcycling.
How to Restore Motorcycle Plastics: Step-by-step Guidance
In the following sections, we’ll guide you through the step-by-step process of reviving your motorcycle plastics, from assessing the damage to achieving a factory-fresh finish.
Tools and Materials You’ll Need
Before you embark on your journey to restore motorcycle plastics, it’s essential to arm yourself with the right tools and materials.
While there are readymade solutions available in the market to do this quickly, you can also use some common homemade items to achieve satisfactory restoration results.
Here’s a rundown of what you’ll need:
- Mild soap or plastic cleaner
- Soft bristle brush or microfiber cloth
- A razor blade
- Assorted sandpaper grits (from coarse to fine)
- Sanding block or pad
- Plastic filler compound
- Putty knife or plastic spreader
- High-quality paint suitable for plastics
- Clear coat spray for plastics
- Plastic-safe polish
- Buffing cloth or polishing pad
The process of restoring is very much the same regardless of the plastic parts you want to restore.
However, it makes no sense if you are expecting a brand-new version of plastics after completing the restoration process.
There will be always some difference between the replaced and restored parts. What makes the restoration process worthwhile is the cost which is significantly lower than installing a new part.
Step-by-Step Restoration Guide
Cleaning and Preparation
It’s crucial to start with a clean slate. To do this, wash the plastics thoroughly using a mild soap or dedicated plastic cleaner.
Gently scrub away dirt, grime, and debris that have accumulated over time. Pay special attention to the faded, dirt-covered, and sun-damaged areas.
A soft bristle brush or microfiber cloth can help you achieve a thorough cleaning without causing any damage.
Sanding and Surface Preparation
Sanding is a tried-and-true method for restoring plastic surfaces, helping to smooth out imperfections and create an even texture for the restoration process.
To achieve optimal results, here’s a guide to selecting the right sandpaper grits and employing proper sanding techniques:
A coarse sandpaper of 80-120 grits can be ideal to remove deeper scratches, gouges, and imperfections. This grit level helps you level out the surface effectively.
Proper Sanding Techniques
- For wet sanding, lightly dampen the sandpaper before starting. Wet sanding can help minimize heat buildup and provide a smoother finish.
- Hold the sandpaper flat against the surface and apply gentle, even pressure. Avoid excessive force, which can create uneven spots or gouges.
- Move the sandpaper in straight lines or gentle circular motions, covering the entire scratched area. Keep the sandpaper moving to prevent uneven sanding.
- Pause periodically to assess the progress. The scratches should gradually disappear, and the surface should become smoother.
- If you’re using multiple grits, switch to the next finer grit (more than 120 grits) after achieving a consistent surface with the current one. This ensures a smooth transition between grit levels.
- After sanding with each grit, wipe the surface clean to remove residue and check for any remaining scratches.
- After using the finest grit, run your fingers over the surface to ensure it’s smooth and free from scratches. If satisfied, you’re ready to move on to the next steps in the restoration process.
While sanding provides more control over the level of abrasion and minimizes the risk of causing further damage it may take more time to smoothen the surface from scratches.
A quicker approach would be using a razor blade with some caution. If the scratches are shallow in nature and only affecting the top layer of a plastic then hold the blade at a shallow angle (approximately 30 degrees) to the surface and apply gentle pressure.
Make sure to use smooth and controlled motions to glide the blade over the scratched area as pressing too hard can damage the plastics.
Remember, using a blade requires a delicate touch and a keen eye. If you are uncertain about your ability to control the blade and the potential risks involved, it’s advisable to stick with the sanding technique.
Filling and Repairing
Once you are done with sanding, inspect the plastics for cracks, dents, or deep scratches that require repair.
If there are gaps, you can use a plastic filler compound to cover these areas. A putty knife or a plastic spreader will come in handy to achieve a leveled surface.
Allow the filler to dry completely and then sand it down to match the surrounding area.
Priming and Painting
If you are satisfied with surface leveling apply a plastic primer spray to the sanded and repaired plastics.
This step enhances the adhesion of the paint and helps create a uniform finish. Once the primer is dry, apply the chosen paint color using smooth, overlapping strokes.
It is important to follow the manufacturer’s instructions for drying times and the number of coats needed.
Clear Coating and Protection
To achieve that glossy, factory-fresh appearance, consider applying a clear coat spray for plastics.
This protective layer not only adds shine but also shields the paint from environmental factors. Allow the clear coat to dry thoroughly before moving on to the next step.
Polishing for a Gleaming Finish
After completing the painting process, it’s time to elevate the shine of your newly restored motorcycle plastics.
Begin by buffing the surfaces gently with a clean, soft cloth or a specialized polishing pad. This step helps to remove any minor imperfections and enhances the overall gloss.
To achieve that showroom-worthy shine, apply a plastic-friendly polish designed for automotive plastics.
Use a separate cloth to work the polish onto the surfaces in circular motions. This not only adds depth to the shine but also provides a protective layer against future damage.
Alternative Restoring Solutions for Specific Issues
Heat Gun
Faded plastics can regain their color and luster with the careful application of a heat gun.
To do this, hold the heat gun a few inches away from the plastic surface and move it in a sweeping motion until the color evens out.
Related Read: Using a heat gun on car paint
Exercise caution not to overheat or warp the plastic.
Peanut Butter Magic
Believe it or not, peanut butter can help diminish minor scratches on plastics.
Apply a small amount of peanut butter to the scratched area, gently rubbing it in with a cloth. Wipe away the residue and be amazed at how the scratches become less noticeable.
Here’s a quick video showing how to use peanut butter to restore shine on automobile plastics:
Maintenance Tips for Restoration Longevity
Regular Cleaning: Make a habit of cleaning your motorcycle plastics regularly to prevent dirt and grime buildup that can dull their appearance.
UV Protection: Store your bike in a shaded area whenever possible, or use a bike cover that shields the plastics from direct sunlight and UV rays.
Avoid Harsh Chemicals: When cleaning, steer clear of harsh chemicals that can damage the plastics or strip away protective coatings.
Quick Fixes: For minor scratches or scuffs, keep a plastic-safe scratch remover or touch-up paint on hand to address issues promptly.
Routine Inspection: Periodically inspect your motorcycle plastics for signs of fading, cracking, or damage. Catching issues early can prevent more extensive restoration work later.
Related Read: Prevent water spots on motorcycle chrome
Final thoughts
Plastics are important to keep your bike’s aesthetics stable and gain attraction on the road. Environmental factors, driving conditions, and aging could deteriorate the plastic material drastically.
Restoring your motorcycle plastics is possible. There are no magical secrets to achieving restoration apart from using some domestic cleaners and methods that we have comprehensively covered in this post.
Yes, you will have to invest time and put in some effort but the end result will be worth praising without spending too much money.
Alternatively, you can also seek help from professionals or make use of readymade solutions such as plastic restorers to save time, and effort for preserving your bike’s plastic allure.