
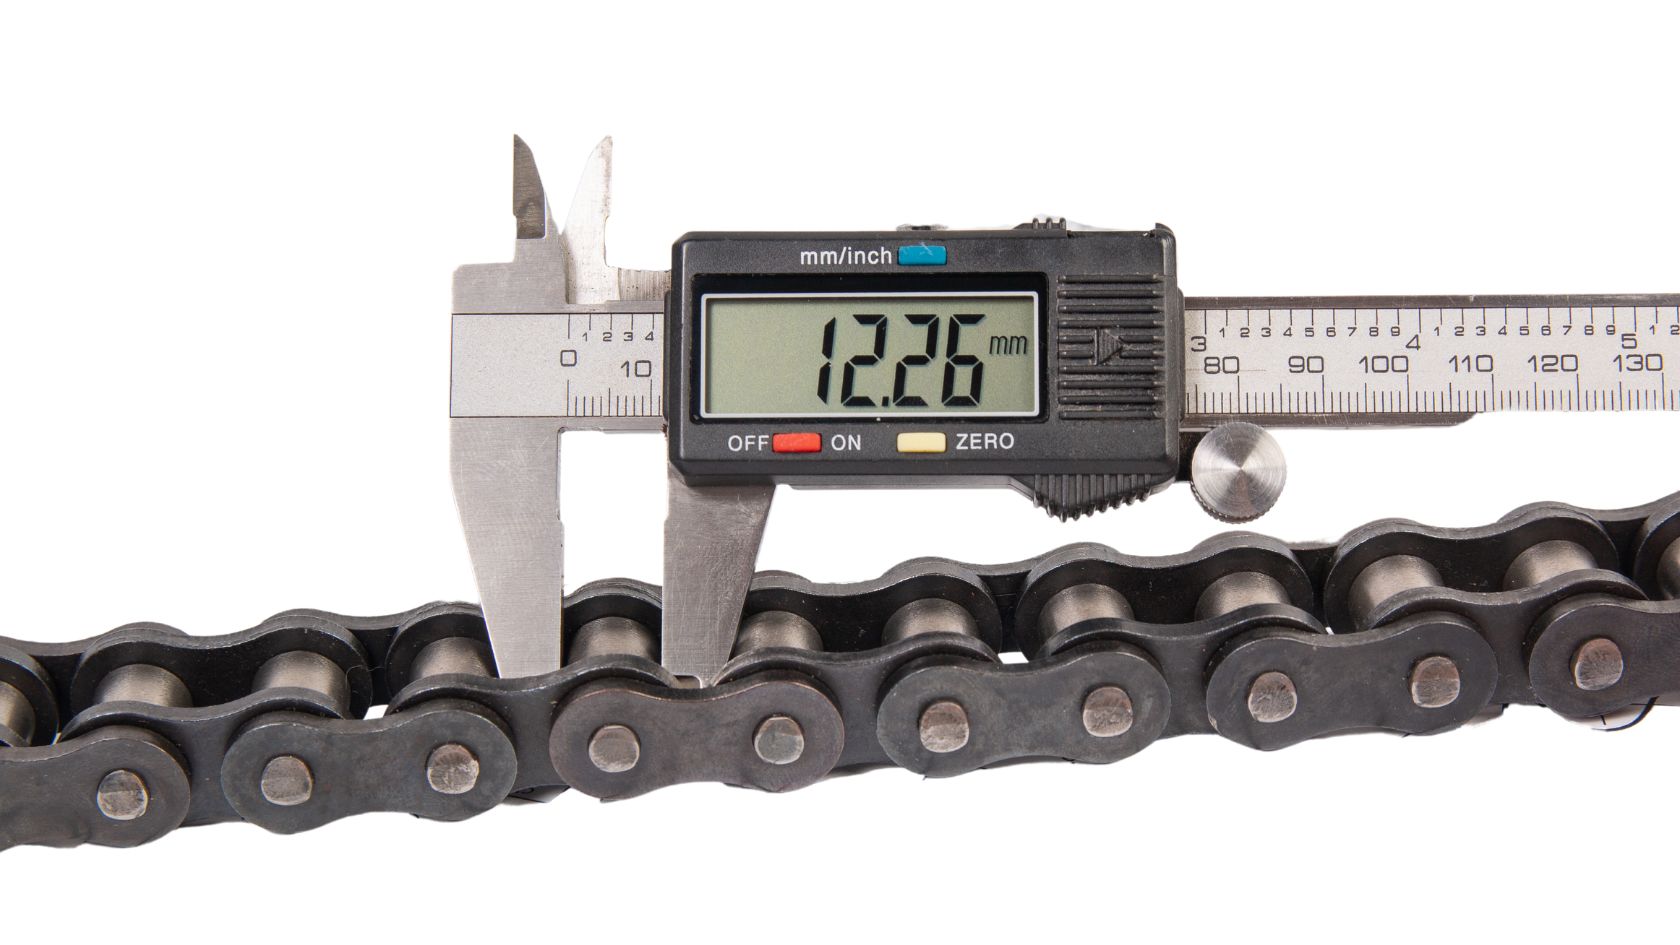
Adjusting motorcycle chain tension should be part of your regular motorcycle maintenance. While the adjusting process can be done by referring manufacturer’s guidelines and some tools there is a possibility of leaving the chain loose or overly tight. This is where motorcycle chain tension tools come into play. These tools are handy equipments to measure and adjust the motorcycle chain tension effectively. In this comprehensive guide and review post, you will know the importance of motorcycle chain tension tools, how to use them, and why they are an essential addition to your motorcycle maintenance arsenal. Furthermore, we will guide you through the process of choosing the right motorcycle chain tension tool with our buyer’s guide and also help you find 3 best motorcycle chain tension tools to choose from. Motorcycle chains are prone to wear and tear and damage due to the constant accumulation of dirt and debris during regular usage. The circumstances can lead to worn-out sprockets, bearings, etc. resulting in loosely gripped motorcycle chains. An excessively loose chain can skip teeth, leading to a sudden loss of power. At the same time, an overly tight chain can strain components and potentially snap. If the chain is not properly adjusted, it can lead to inefficient power transmission, poor acceleration, and less responsive ride which can be life-threatening in the long run. Correct chain tension improves your motorcycle’s overall performance minimizing wear and tear on the chain, sprockets, and other drive train components. If you want to extend the lifespan of your motorcycle chain and save money on costly repairs or replacements then correct chain tension is necessary. A motorcycle chain tension tool, also known as a chain slack tool, is a device designed to measure and adjust the tension in your motorcycle’s chain accurately. These tools come in various types, including manual and digital variants. As mentioned earlier, you can use some manual items such as measuring tape, spanners, wrenches, etc. to perform the adjustment task. However, there is always a risk of inaccuracy while adjusting the chain tension manually. Moreover, it also takes time and effort which many motorcyclists fail to invest. Having a dedicated tension tool helps you maintain consistent chain tension every time you adjust it. These tools provide precise readings, ensuring that you set your chain to the manufacturer’s recommended specifications. In terms of usage, most chain tension tools are user-friendly and do not require advanced mechanical knowledge. They typically include clear instructions for use. While adjusting, over-tightening a chain is a common mistake performed by many motorcyclists that can lead to costly repairs. Chain tension tools help prevent this by providing a reliable reference point ensuring optimal performance and safety. Now, that you know the importance of chain tensioning here is the list of the 3 best motorcycle chain tools to make your selection process easier. As an Amazon Associate, we may earn a small commission if you purchase any product clicking the link without any additional cost to you. BPA-RACING Motorcycle Chain Slack Adjuster Tool If you’re a motorcycle enthusiast who loves tinkering with your bike or a seasoned racer looking for precise adjustments, the BPA Racing Chain Slack Adjuster Tool might just be your new best friend. One of the standout features of this tool is its sheer simplicity. It’s designed for easy attachment to your motorcycle chain, eliminating the complexities of manual measurements or ruler-based estimations. Even if you’re a beginner, you’ll find the tool’s operation straightforward. The BPA Racing Chain Slack Adjuster Tool excels in precision and accuracy. The gauge on the tool provides real-time feedback, enabling you to achieve the perfect chain tension for your specific motorcycle model. This means no more guesswork and perfect precision. The tool offers calibration options, allowing you to set it to your desired chain slack specifications. However, calibration might take a bit of time initially, but it’s a one-time process that ensures accurate measurements in the long run. The calibration feature is particularly useful if you own multiple motorcycles with varying chain tension requirements. It ensures consistent and accurate adjustments every time you use it. On the plus side, this tool is compatible with various motorcycle makes and models. Whether you own a sportbike, cruiser, adventure bike, or anything in between, the tool can accommodate different chain sizes, making it a versatile addition to your toolkit. Motion Pro Chain Tension Tool The Motion Pro SlackSetter is another tool specifically designed to simplify the often-overlooked process of measuring chain slack. The tool underscores the importance of having the correct amount of chain slack. Unlike the subjective three-finger rule, SlackSetter provides a standardized way to measure chain slack. It’s versatile and can be used on various motorcycle models to ensure uniformity in your maintenance routine. Using the Motion Pro SlackSetter is straightforward, ensuring that even novice riders can maintain the correct chain tension with confidence. Like any tool, it relies on manual measurements. Therefore, it’s important to ensure precision when measuring from the center of the sprocket to the sprocket. All in all, Motion Pro simplifies a crucial maintenance task by providing consistent and accurate chain slack measurements, promoting safety, and prolonging your chain’s life. While it does require careful manual measurements, its affordability and the peace of mind it offers make it an indispensable addition to your toolbox. Tru-Tension Chain Monkey Tool The Chain Monkey Tool is tailor-made for achieving optimal chain tension with precision. The tool’s design is straightforward and user-friendly, making it accessible to riders with varying levels of mechanical expertise. The Chain Monkey Tool simplifies the otherwise intricate process of measuring and adjusting chain tension, ensuring that riders can achieve the correct tension with ease. The tool comes with a reference chart that corresponds to numbers marked on the tool itself (1, 2, 3, etc.). Riders must first determine the correct reference column based on their chain’s height, which is measured using a side plate. Adjusting the tool’s position involves aligning it with the chosen reference number, which corresponds to
A Comprehensive Guide to Adjusting Motorcycle Chain Tension Correctly
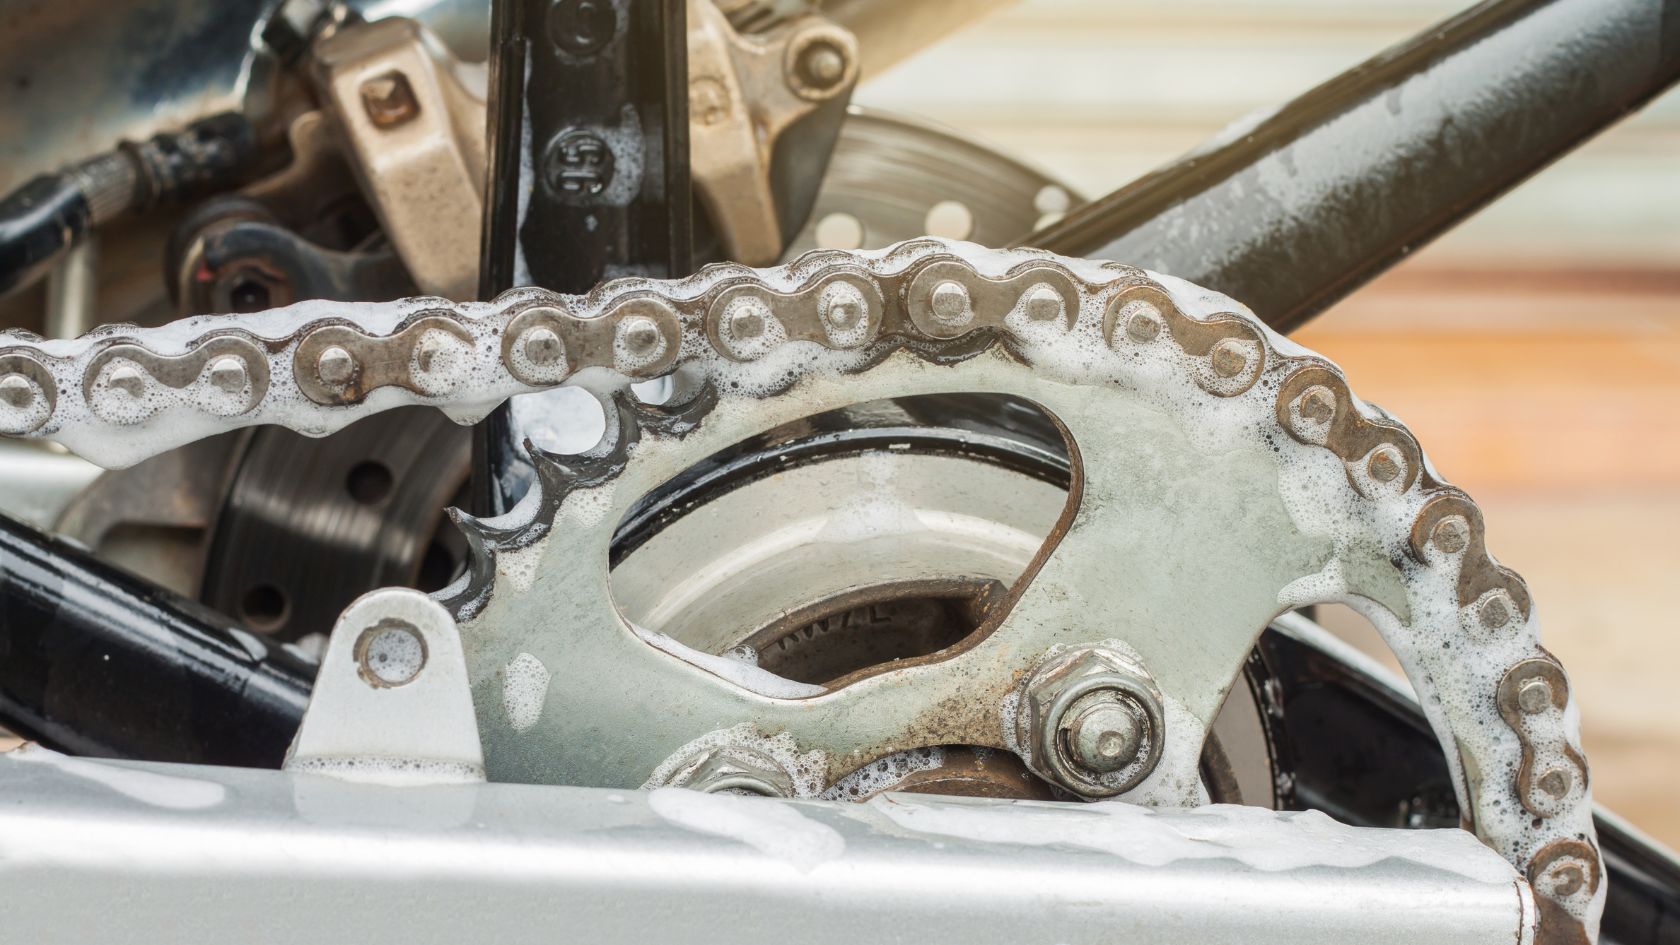
Adjusting motorcycle chain tension correctly ensures a smooth and safe ride. Since your motorcycle’s chain plays a vital role in transferring power from the engine to the rear wheel, it is important to learn the aspects of adjusting motorcycle chain tension to keep this process uninterrupted. If you don’t know how to do it, we will walk you through the step-by-step process of adjusting motorcycle chain tension in this comprehensive guide. You will know what is chain tension. Why does adjusting a chain tension matter? and the correct adjusting process to do it? Chain tension is the level of tightness or slack in the motorcycle chain. It is the result of the distance between the front and rear sprockets and the length of the chain itself. Achieving the correct chain tension is crucial for optimal motorcycle performance and safety. The chain tensioner is important for the overall performance, comfort, and safety of a motorcycle. When a chain is loose, it can wear out the sprockets more rapidly due to increased friction. Owing to looseness, a motorcycle chain can jump off the sprockets or even break while you’re riding, potentially causing accidents. On the other hand, if the chain is excessively tight it can strain the engine, sprockets, and bearings, leading to premature wear and potential damage. It is therefore crucial to maintain the correct chain tension as it helps extend the lifespan of both the chain and sprockets. A correctly tensioned motorcycle chain ensures efficient transfer of power from the engine to the rear wheel. You’ll notice less noise and vibration when your chain is in good condition. This results in improved fuel efficiency, improved acceleration, and overall performance. Now, that you know about the importance of a chain tensioner it is time to learn how to properly adjust it for a smooth and comfortable ride. 1. Motorcycle owner’s manual 2. Rear stand or center stand 3. Wrenches (a torque wrench precisely) 4. Measuring tape or chain alignment tool 5. Marker or paint 6. Lubricant (depending on the time you have) 7. Paddock stand (optional) Note: Always refer to your motorcycle’s owner’s manual for specific instructions and recommended tension settings. Lift the Rear Wheel Put your motorcycle on a rear stand or center stand to elevate the rear wheel off the ground. This step is crucial for accurate chain tension adjustment. You can use a Paddock stand if your motorcycle is stand-less. While doing this, make sure you have clear surroundings and a flat surface to avoid incidents of your motorcycle slipping or tipping on the ground. Locate Chain Adjustment Points Your motorcycle will have two chain adjustment points, one on each side of the swing arm. These points allow you to adjust chain tension equally on both sides. To avoid uneven wear, handling issues, and preventing misalignment, maintaining even tension on both sides is crucial. Use the spanner (13mm) to adjust the chain adjuster bolts on both sides of the swing arm evenly and loosen the rear wheel retaining bolts. Measuring the Chain Slack Use a measuring tape or a chain alignment tool to measure the chain slack. Check your owner’s manual for the recommended slack measurement, typically around 20-30 mm. You can also check the chain slack by lightly tapping the chain under the swing arm. This will give you a feeling of slight movement without any excessive slack. The tight spots between the front and rear sprockets should be your target to measure the slack effectively. Based on the measurement, mark a chain link with a marker or paint for reference. This will help you keep track of the chain’s movement during the adjustment process. Adjusting Chain Tension With the bolts loosened on both ends, you can now use wrenches or a torque wrench to turn the chain adjuster bolts on both sides of the swing arm equally. Clockwise movement will tighten the bolts and anti-clockwise movement will loosen the bolts. Keep doing this until the recommended chain slack is achieved. Checking the slack measurement at every quarter per turn is a good idea to make proper adjustments. Ensure that both sides of the chain have the same amount of slack. This maintains even tension and prevents issues like misalignment. Recheck and Test After making adjustments, double-check the chain slack and alignment. Spin the rear wheel to ensure smooth rotation without any tight spots or binding. If everything seems fine that means you have done a great job yourself. It’s time to tighten up the loosened bolts and all the other parts to bring back your motorcycle chain connection in the correct position. Lubricate the Chain Applying motorcycle-specific chain lubricant in these conditions will do a whole lot of good to the chain. Proper lubrication ensures reduced friction and wear and tear on the chain sprocket extending its lifespan. Here is the complete guide to cleaning your motorcycle chain. An ideal thumb rule is to check your motorcycle’s owner’s manual for manufacturer-specific recommendations on adjusting frequency. However, adjusting the chain tension every month or at least every other week, depending on your riding frequency and conditions is generally recommended. If you ride frequently, inspect the chain tension every 500 miles for a better riding experience. Regular checks and adjustments help ensure that the chain maintains the correct tension, promoting safe and efficient riding, and extending the life of critical components. The recommended chain tension for a motorcycle typically falls within the range of 20 to 30 millimeters (approximately 0.79 to 1.18 inches) of slack when measured at a midpoint between the front and rear sprockets. This measurement is taken with the bike’s weight on its wheels and is usually indicated in the motorcycle’s owner’s manual or on the swing arm. It’s crucial to adhere to the manufacturer’s specified tension range to ensure safe and optimal performance, as over-tensioned or excessively loose chains can lead to issues like premature wear, decreased performance, or even accidents. Maintaining your bike not only enhances its performance but also contributes to

Is Rear-Facing Car Seat Safer in Rear-End Collision?
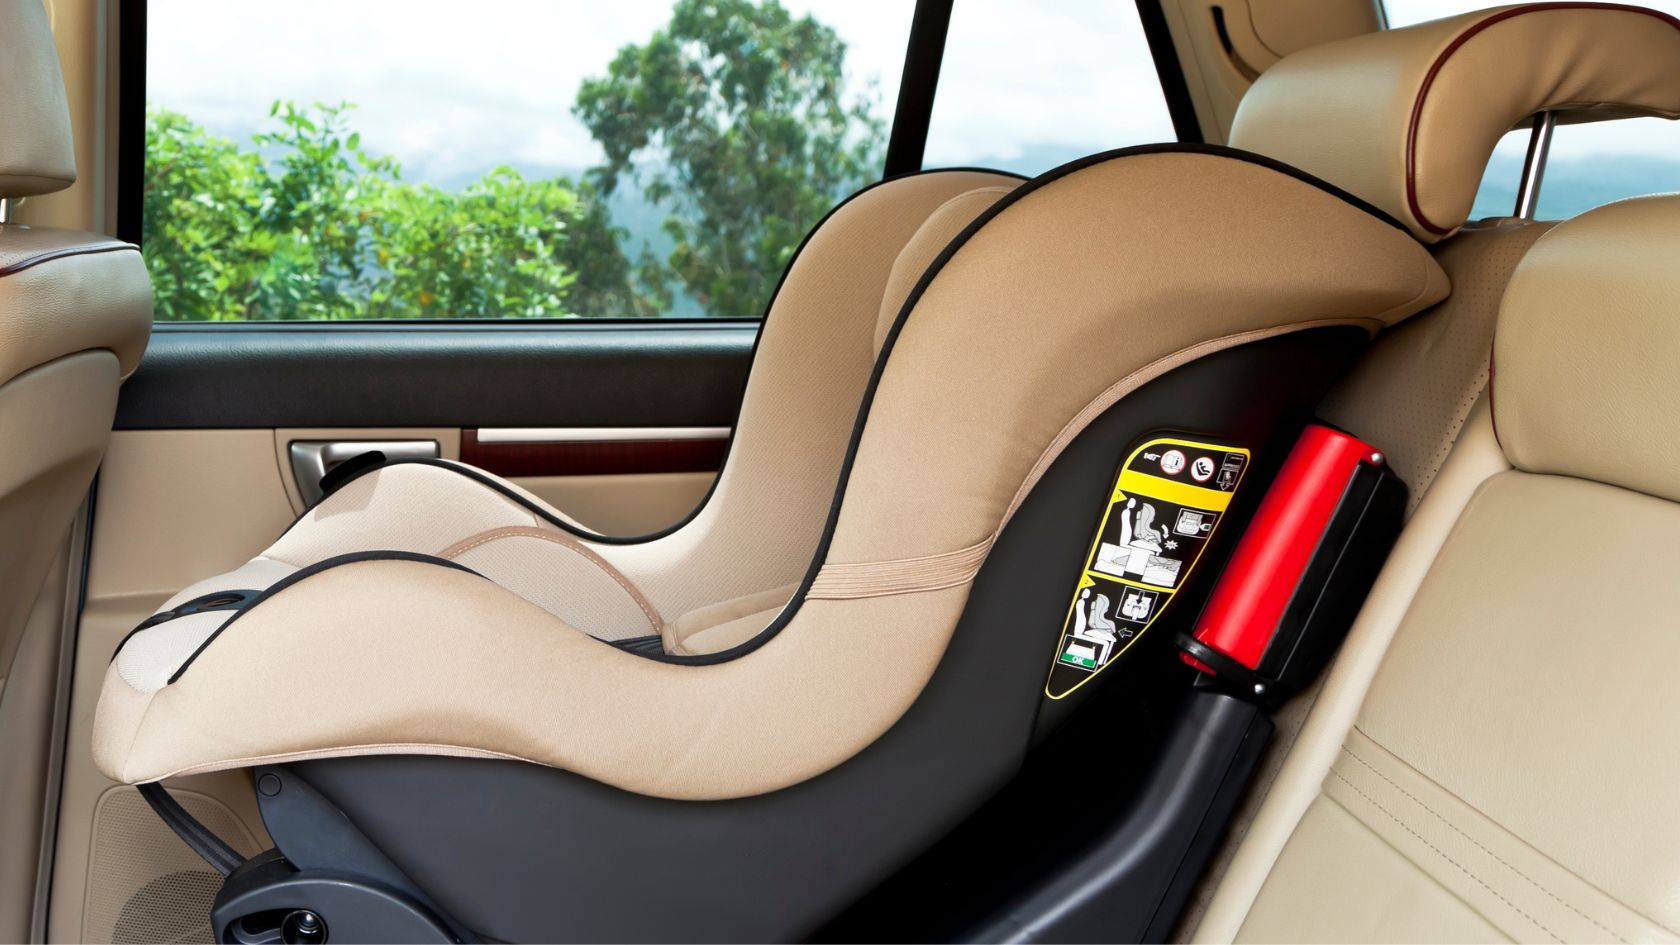
One of the most debated questions among parents about child car safety is the capability of rear-facing car seats. Rear-facing car seats are designed to provide maximum protection for infants in the event of a front or side collision. However, is a rear-facing car seat also safer in rear-end collisions? What is the impact of rear-end collisions on baby car seats? And what should you do as a parent to ensure your child remains safe during rear-end collisions? You will find answers to many such questions in this post. According to crash test studies and conclusions, here’s how a rear-facing car seat performs in rear-end collisions. Rear-end collisions, though seemingly commonplace, can pose significant risks, especially for young passengers protected by rear-facing car seats. These collisions occur when one vehicle strikes the back of another, often at unexpected moments. For infants and toddlers secured in rear-facing car seats, the impact dynamics are distinct. Rear-end collisions subject rear-facing car seats to abrupt, backward forces. The unique challenge arises from the sudden acceleration and deceleration, potentially causing rapid movement within the car. Another persistent worry regarding rear-facing car seats in rear-impact collisions is the potential risk of infants’ heads colliding with the back of the front seats, leading to possible head or neck injuries. This is where the design of rear-facing seats becomes pivotal in countering these forces effectively. Studies, like those conducted by institutions such as The Ohio State University Wexner Medical Center, shed light on the effectiveness of these seats in rear-end collisions. Innovations in the structural design fortify the rear-facing seats, ensuring they evolve to meet emerging safety challenges including: Impact absorption technology is the core feature of these car seats. This technology is often equipped with energy-absorbing materials that act as buffers, diffusing and dissipating crash forces irrespective of the direction it occurs. This sophisticated mechanism of impact absorption technology mitigates the abruptness of impact or rear collisions. Car seats with such technologies help safeguard the delicate spines and necks of babies from jarring movements. Some precisely engineered rear-facing car seats also boast reinforced shell structures. These shells, often made from high-strength polymers, withstand external pressures, maintaining a secure environment within. Even in the face of a rear-end collision, the structural integrity of these seats remains intact because of the reinforced structured shells, shielding the child from external forces during rear-end collisions. Intricately designed harness systems play another pivotal role. They snugly secure the child, preventing and restricting any excessive movement during impact. Additionally, many rear-facing seats come with tethering options that help enhance the stability of the seat by anchoring it to the car’s frame. This meticulously crafted restraint system ensures the child remains firmly positioned when the car is hit from the rear minimizing the risk of injuries. One of the fortifying defensive features in rear-facing car seats is side-impact protection wings. When the lateral forces appearing from rear-end collisions hit the seats, these extended structures envelop the child, acting as a barrier. These wings also absorb and disperse the energy, maintaining a cushioned cocoon around the child. In the event of a collision, this feature becomes a comprehensive shield in protecting your little ones from potential damage. In rear-end collisions, where the force of impact is unpredictable, these features synergize, transforming rear-facing car seats into impregnable fortresses. One important factor in the usage and child safety of rear-facing car seats is correct installation, especially in the face of rear-end collisions. While the correct installation method will depend on the type and brand of car seat model you have, here are some of the common steps you must take while installing a rear-facing car seat properly: Ensure adhering to the above steps meticulously to strengthen your child’s safety. Proper installation not only mitigates the impact forces but also maintains the child’s position within the seat, ensuring comprehensive protection. While rear-facing car seats are proven to be safer during collisions they have certain limitations. These limits are set by the car seat manufacturers and may vary depending on the specific model. The limitations are not arbitrary; in fact, they are meticulously calculated to ensure the seat’s effectiveness in terms of the weight and height specifications of a child. Typically, rear-facing seats accommodate children up to 40-50 pounds and 40-43 inches in height, ensuring the child’s head remains fully protected within the seat’s shell. Exceeding the limits can compromise the seat’s effectiveness and significantly impact its performance in rear-end collisions. When a child exceeds these limits, the seat’s ability to absorb impact forces and shield the child’s head and neck diminishes. For example, if a child’s head is too tall for the car seat, the harness straps may not be able to properly restrain the child’s head and neck. This could lead to the child’s head and neck being thrown forward in a rear-end collision, which could cause serious injury. Similarly, if a child is too heavy for the car seat, the car seat may not be able to properly distribute the force of the impact. This could lead to the child being injured by the car seat itself. Parents should view these limits not as mere guidelines but as fundamental safeguards, crucial in maximizing the rear-facing car seat’s performance and enhancing the child’s safety during accidents. Properly following these limits is essential; it ensures the child is securely cradled within the seat, optimizing the seat’s protective features. Once your child reaches the rear-facing limits of their car seats, they should move to a forward-facing car seat with a harness. Rear-facing car seat’s innovative features such as impact absorption technology, structured shells, harness systems, protective wings, etc. are instrumental in protecting your child from dangerous collision impacts. To maximize and enjoy the full benefits of rear-facing car seats it is important to adhere to proper installation guidelines and replace the car seats if they exceed recommended limitations. Overall, rear-facing car seats offer the best protection for infants and young children in the event of a rear-end crash.
Is It Illegal To Use An Expired Car Seat?
In the complicated world of child safety regulations, one question frequently echoes in parents’ minds: Is it illegal to use an expired car seat? The answer isn’t as straightforward as it might seem. The complexity of intertwining laws in different countries, expiration dates, and the paramount concern for a child’s safety is in the middle of car seat consideration. If you are inadvertently risking legal consequences by using seemingly harmless outdated seats then read this post. In this intriguing exploration, we will uncover the truth behind expired car seats. No, it is not illegal to use an expired car seat because there is no specific law prohibiting the use of an expired car seat. However, many states have laws requiring parents to use car seats according to the manufacturer’s instructions. If the manufacturer has set an expiration date for the car seat, using it beyond that date could be considered a violation of those laws. Even though it may not be explicitly illegal to use an expired car seat, it is strongly discouraged. This is because the materials in the car seat may have degraded, making it less effective in a crash. If the car seat has crossed expiry limits, it may not meet the required safety standards and may even not fit your child properly. The National Highway Traffic Safety Administration (NHTSA) recommends that car seats be replaced after six years, even if they do not have an expiration date. If you are unsure whether your car seat is expired, you can check the manufacturer’s website or contact them directly. Baby car seats often come with expiry date labels. The labeling is part of the guidelines offered by most manufacturers to aware their customer’s about the usefulness of the car seat. The expiry labeling is rooted in ensuring the highest level of safety for small children. Here are the reasons for the expiration date for these safety devices: Material Wear and Tear – Car seats for babies and children don’t have standard material across the structure. Car seats extensively use plastics for their structural components, such as the shell, buckles, and adjusters. While plastics are generally durable, they can become brittle and crack over time due to exposure to extreme temperatures, sunlight, and chemicals. Similarly, some sections of car seats are made of metal including buckles, adjusters, and latch connectors. Metals have a tendency to corrode and weaken with time due to moisture, humidity, and other corrosive substances. Foam and padding also lose their shock-absorbing properties and fabrics can compress, fade, tear, and become less resistant to abrasion and repeated washing. This wear and tear can significantly compromise the structural integrity of the seat, making it less effective in a crash. Changing Safety Standards – Safety regulations and standards for car seats are constantly evolving as new research and technologies emerge. Older car seats may not meet the latest safety requirements, rendering them less effective in protecting children during accidents. As an example, in recent years, crash testing protocols for car seats have become more rigorous and comprehensive, incorporating a wider range of crash scenarios and impact forces. Car seats manufactured before these testing scenarios may be considered expired due to their ineffectiveness in dealing with more severe crashes. Technological Advancements – Modern car seats often incorporate advanced features and technologies designed to enhance safety. Side-impact protection and energy-absorbing materials such as deeper side wings, and head-protection wings are the advancements that help protect children from side-impact collisions. Expired car seats lack these innovations, making them less capable of safeguarding children in the event of a collision. Exposure to Environmental Factors & Chemicals – Car seats are exposed to various environmental elements, including sunlight, temperature fluctuations, and humidity. From hot summer days to cold winter nights, these temperature extremes can cause plastics to become brittle and crack. If you reside in a warmer climate, prolonged exposure to sunlight’s UV radiation degrades the car seat’s plastic through photo-degradation. As a result of this, plastic components become weaker and discolored. Another reason for the expiry of car seats is chemicals. Harsh substances from cleaning products used to clean car seats can interact with plastics causing them to degrade. Even air fresheners and spilled foods can impact the originality of plastics accelerating the breakdown. All these factors diminish the seat’s ability to withstand impact forces. Miscellaneous Factors – Regular use, installation, and removal of the car seat may put stress on plastic components, leading to fatigue and potential cracking. From a long-term perspective, plastics naturally age and degrade due to changes in molecular structure leading to loss of strength, flexibility, and resilience. In many instances, manufacturers may issue recalls to address safety defects or issues that may have been identified later. An expired car seat might not be eligible for such replacements. Lastly, regulations and laws related to child safety seats change over time in different countries. If the car seat in use is not compliant with the changed legal requirement, it will be considered expired and could lead to legal consequences if used improperly. Considering all these factors, manufacturers provide an expiration date to indicate the period during which the car seat is guaranteed to meet safety standards effectively. Once a car seat reaches its expiration date, it is strongly recommended to replace it with a new, up-to-date model to ensure the continued safety of the child using it. The expiration date on a car seat is typically printed on a sticker or label affixed to the car seat itself. The exact location of the expiration date sticker may vary depending on the car seat model and manufacturer, but it is commonly found on the underside of the car seat base, the back of the car seat shell, or the side of the car seat. If you are unable to locate the expiration date, you can contact the car seat manufacturer directly for assistance. It is recommended to dispose of an expired car seat to ensure it doesn’t end up

The Ultimate Guide to Choosing and Using the Best Baby Car Seat (2025)
Ensuring your newborn’s safety in the car is paramount, but it takes time for them to sit independently. That’s where baby car seats come into play. If you’re a car owner, investing in this essential baby gear is non-negotiable. Referred to as infant car seats, child seats, or even baby strollers, these specialized seats are engineered to provide optimum comfort and safety, allowing your baby to ride securely during those early years. In this comprehensive guide, we will cover everything you need to know about choosing, installing, and maintaining the best baby car seat for your little one. From understanding the importance of baby car seats to safety guidelines, types, installation methods, and expert tips, this guide aims to provide you with all the information you need to make an informed decision. Baby car seats are designed to protect infants and toddlers weighing between 25 and 40 pounds during car journeys. They significantly reduce the risk of injury in the event of a collision. According to studies, using a properly installed car seat can reduce the risk of fatal injury by up to 71% for infants and 54% for toddlers. These specialized seats are ingeniously designed to face the rear of the car, a practice firmly endorsed by pediatric experts. For newborns, the rear-facing position is paramount, ensuring optimal protection until they attain specific height and weight milestones. Crucially, these baby car seats are seamlessly affixed to a secure base, guaranteeing steadfast stability during every journey. This strategic integration enhances the safety quotient significantly, providing parents with the peace of mind they rightfully deserve. Finding a car seat for your baby that meets all the requirements from a plethora of products could become a daunting task. This is why we have done the research and selected the best 3 baby car seats to save you time and effort: As an Amazon Associate, we may earn a small commission if you purchase any product by clicking the link without any additional cost to you. Chicco OneFit ClearTex All-in-One, Rear-Facing Seat The Chicco One-Fit ClearTex All-in-One Car Seat is a versatile solution catering to children from 5 to 120 pounds. Its seamless transition from rear-facing to a forward-facing harness and then to a booster seat eliminates the hassle of buying multiple car seats. This car seat prioritizes safety, meeting or exceeding federal standards. It features a sturdy frame, side-impact protection, and a 5-point harness system, ensuring your child’s security in any situation. It is one of the baby car seat brands that offer non-toxic flame retardant-free products with low emissions. Installing the Chicco One-Fit is a breeze, offering LATCH or seat belt options, both clearly explained in the manual. The no-rethread harness system adjusts effortlessly as your child grows, ensuring a perfect fit. Plush padding, multiple recline positions, and breathable fabric create a comfortable environment. Your child will enjoy car rides, and you’ll appreciate the convenience of a machine-washable seat cover. Designed with practicality in mind, this car seat is compact, however moving or transferring the seat could be a problem due to its bulkiness. Its 10-year lifespan means it can be used for multiple children without compromising safety. Though Chicco One-Fit is compatible with most vehicles, it is always advisable to check the car seat compatibility guide or consult with the manufacturer to ensure a perfect fit in your specific vehicle. Britax Boulevard Clicktight Convertible Car Seat The Britax Boulevard ClickTight Convertible Car Seat redefines child safety, offering a premium experience for parents seeking the utmost security and convenience. Designed as a convertible car seat, it accommodates infants from 5 to 40 pounds in rear-facing mode and 20 to 65 pounds in forward-facing mode, ensuring extended use without the need for multiple seats. Britax Boulevard ClickTight incorporates advanced safety features. The innovative ClickTight Installation System simplifies setup, guaranteeing a secure fit. Additionally, SafeCell Impact Protection, side impact safeguards, and a 5-point harness system with no-rethread design work cohesively to safeguard your child comprehensively. Prioritizing your child’s comfort, this car seat features plush padding, multiple recline positions, and breathable fabric. These elements create a cozy and well-ventilated environment, enhancing your child’s riding experience. Additionally, there are no flame retardant chemicals in the fabric which makes it naturally non-toxic. In terms of convenience, the machine-washable seat cover ensures easy cleaning, while the easy-to-adjust headrest and harness simplify customization. One drawback is the weight of this seat. It’s pretty bulky and heavy and constant transfers or movement may not be convenient. In summary, the Britax Boulevard ClickTight Convertible Car Seat combines advanced safety features, superior comfort, and user-friendly design, offering exceptional value for parents who prioritize their child’s safety and well-being during every car journey. MESA MAX – Jake (Charcoal) The UPPAbaby MESA MAX – Jake (Charcoal) is a premium infant car seat designed for children from 4 to 35 pounds and up to 32 inches in height. It is designed for rear-facing use only, providing optimal protection for infants and young toddlers. The MESA MAX excels in several advanced safety features, including: When it comes to installation, this seat offers multiple installation options for flexibility and convenience including the latch system with dedicated anchors, and seat belts. The MESA MAX features a no-rethread harness with an infinite adjustment system. This means you can easily adjust the harness height as your child grows without the hassle of rethreading straps. The harness also includes a quick-release buckle for easy in and out. The seat also features plush padding, and infant inlay for a comfortable and supportive seating experience. The fabric contains non-toxic chemicals and is designed to promote airflow and prevent overheating, keeping your child cool and comfortable. The seat cover is removable and machine-washable for easy cleaning and the recline can be adjusted with one hand. It is compatible with UPPAbaby strollers, creating a seamless travel system for easy transitions from car to stroller. When selecting a car seat for your child, several crucial factors come into play to ensure both safety and
Can You Mix Air in Nitrogen-Filled Tires? Debunking the Myths
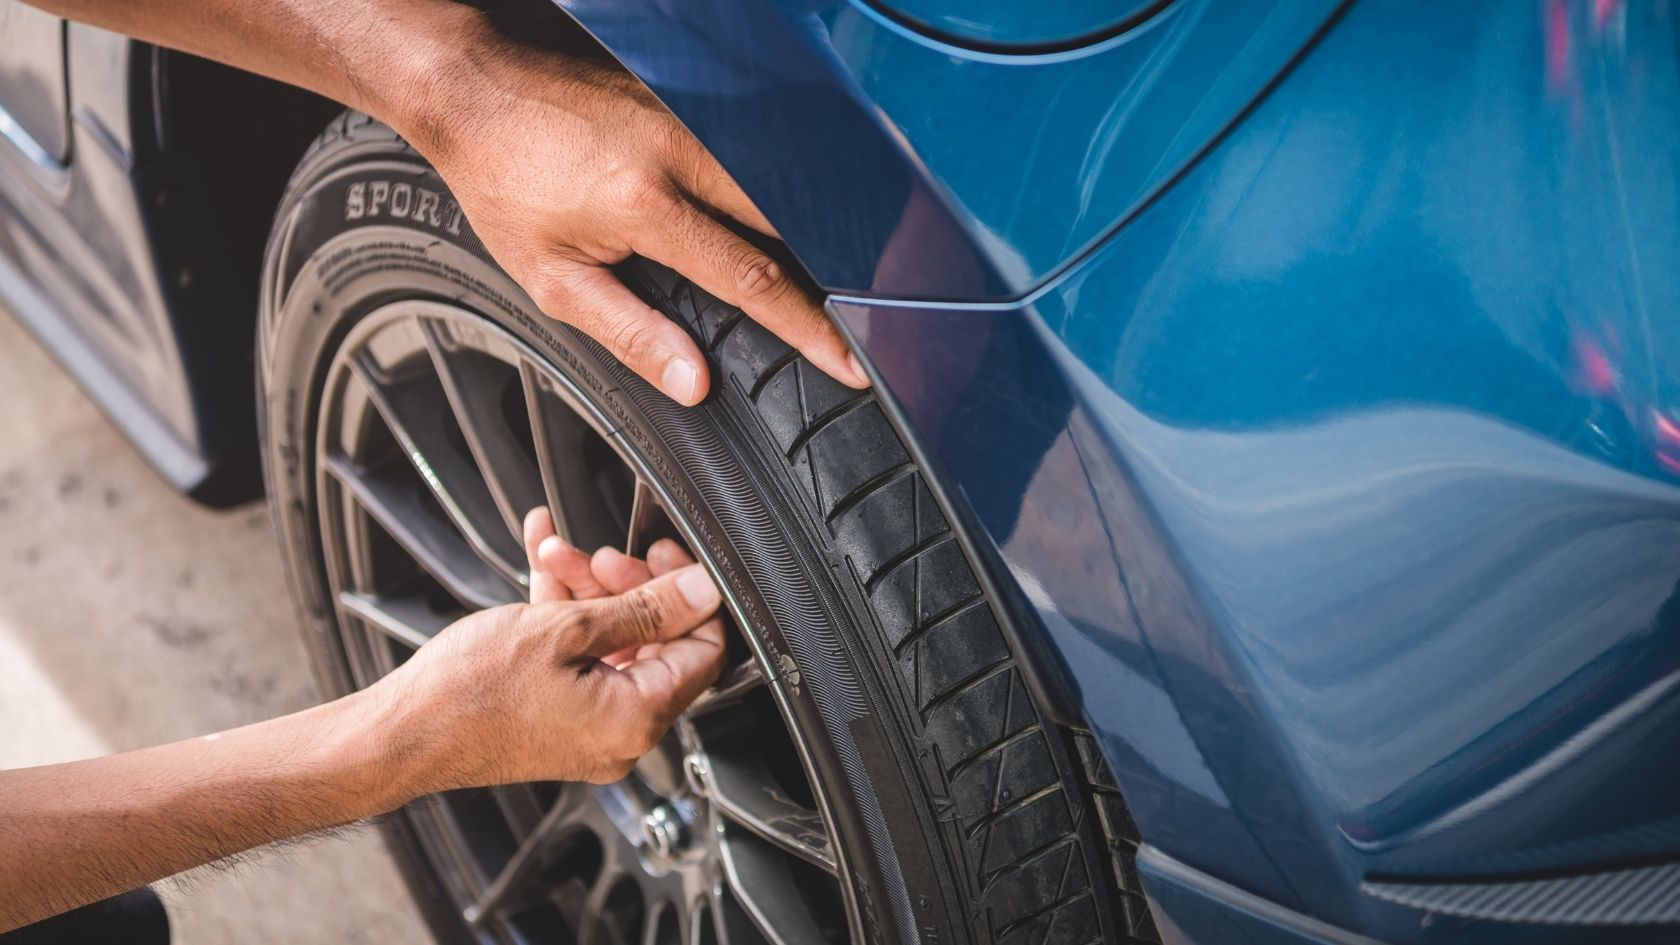
Can you mix air in nitrogen-filled tires? This is an ongoing debate regarding maintaining your vehicle’s tires. The reasons for this debate could be many but one of them is the unavailability of nitrogen inflating resources. So, what will you do? Will you go ahead and inflate your nitrogen tires with regular air? If yes, what will be the effects of such an awkward mixture? In this blog post, we will dive into the details and debunk the myths surrounding mixing air with nitrogen, their advantages and disadvantages, and many more. Yes, you can mix air in nitrogen-filled tires and vice versa. There is no harm in doing so, and it will not damage your tires. However, you have to keep certain conditions and risks in mind associated with air and nitrogen mixture. Nitrogen is an inert gas that has been used in various industries, including automotive, due to its stable properties. In tires, it is known for its ability to maintain stable tire pressure for a longer duration. On the other hand, regular air, consisting of oxygen and other gases, is the standard inflation choice for tires. While it contains about 78% nitrogen, it also has oxygen and other elements which can cause fluctuations in tire pressure. So, mixing air and nitrogen will dilute the purity of the nitrogen, which will reduce some of the benefits of using nitrogen in the first place. Enhanced fuel efficiency, improved tire durability, and better air retention are some of the benefits and factors that favor nitrogen. If you are considering using nitrogen in your tires, it is important to weigh these benefits against air and then decide which is better in the long run. Nitrogen-filled tires have gained popularity in recent years, with proponents touting their benefits over regular air-filled tires. While there are some advantages to using nitrogen, it’s important to weigh these against the potential drawbacks before making a decision. Pros of Nitrogen-Filled Tires: Reduced Pressure Loss: Nitrogen molecules are larger than oxygen molecules, making them less prone to escaping through the tire’s rubber. This results in slower pressure loss and more consistent tire pressure over time. However, despite nitrogen’s stable pressure due to larger molecules, the advantage of pressure loss isn’t significantly substantial. Nitrogen-filled tires show only a slight 1.3 psi difference in pressure loss over time compared to air-filled tires. Improved Fuel Efficiency: Consistent tire pressure contributes to better fuel economy. Properly inflated tires reduce rolling resistance, allowing your vehicle to travel further on the same amount of fuel. But, to enjoy the advantage of better fuel efficiency you have to ensure checking your vehicle tires regularly. Considering the pressure stability and minor improvement in pressure loss of nitrogen-filled tires, you may not be able to detect the drop in tire pressure on time. This means continuing driving with under-inflated tires which can reduce the overall fuel efficiency. Minimized Tire Wear: Consistent tire pressure also helps prolong tire life. Underinflated tires experience uneven wear, leading to premature replacement. Nitrogen helps maintain optimal pressure, reducing wear and extending tire lifespan. Since nitrogen is an inert gas, it doesn’t react with other substances, which also minimizes corrosion of tire rims and valve stems, extending their service life. Cons of Nitrogen-Filled Tires: Higher Cost: Nitrogen inflation typically costs more than air inflation, as it requires specialized equipment and trained personnel. Nitrogen filling is expensive ranging from $5 to $7 or more making it less economical compared to using free or inexpensive air. Limited Availability: Nitrogen inflation stations are not as widespread as regular air pumps, making it less convenient to top up your tire pressure. Finding tire shops offering nitrogen can be inconvenient, limiting accessibility for regular top-offs. In contrast, adding air is widely available and significantly more affordable. Minimal Benefits for Regular Drivers: The advantages of nitrogen are most noticeable in high-performance vehicles or those operating in extreme conditions. For regular drivers, the benefits may not be significant enough to justify the added cost. Here are some things to keep in mind if you are mixing air and nitrogen in your tires: Ultimately, the decision of whether or not to use nitrogen in your tires is up to you. If you are looking for the best possible performance and fuel economy, then nitrogen is a good option. However, if you are on a budget, then air is a perfectly acceptable alternative. Nitrogen-filled tires can maintain stable pressure for a few months, but it’s essential to regularly check the pressure to ensure it remains within the recommended range. Nitrogen, being a larger molecule than oxygen, escapes from tires at a slower rate than regular air. This means that nitrogen-filled tires maintain their pressure more consistently over time. However, nitrogen does not remain in tires indefinitely. On average, tires filled with air lose about 1.5 psi every month, whereas tires filled with nitrogen will lose that amount in about 3-4 months. This means that nitrogen-filled tires typically require less frequent top-ups compared to air-filled tires. Despite the slower leak rate, it’s still recommended to check the tire pressure of nitrogen-filled tires regularly, ideally every month or as suggested by the tire manufacturer. This ensures that the tires maintain optimal pressure for safety, fuel efficiency, and tire longevity. Checking the tire pressure of nitrogen-filled tires is essentially the same process as checking air-filled tires. You’ll need a tire pressure gauge, which is readily available at automotive stores or gas stations. Here’s a step-by-step guide: Both nitrogen and air have environmental impacts, including production methods and emissions. While nitrogen itself is not directly beneficial to the environment, its ability to maintain tire pressure indirectly contributes to environmental benefits. By reducing fuel consumption and tire wear, nitrogen-filled tires can play a small role in reducing greenhouse gas emissions and resource consumption. However, it’s important to note that the environmental benefits of nitrogen-filled tires are relatively minor compared to other eco-friendly practices, such as driving less, using fuel-efficient vehicles, and maintaining proper vehicle maintenance. Additionally,